Settings
Workspace Settings
To access Workspace Settings, click Settings in the left sidebar. The
page is divided into the General, Licensing, and Team tabs.
Owners also see an SSO tab, except in the demo workspace.
General
The General tab displays your Workspace ID and Workspace Name. You can copy the Workspace ID using the copy icon, or edit the Workspace Name by clicking Edit.
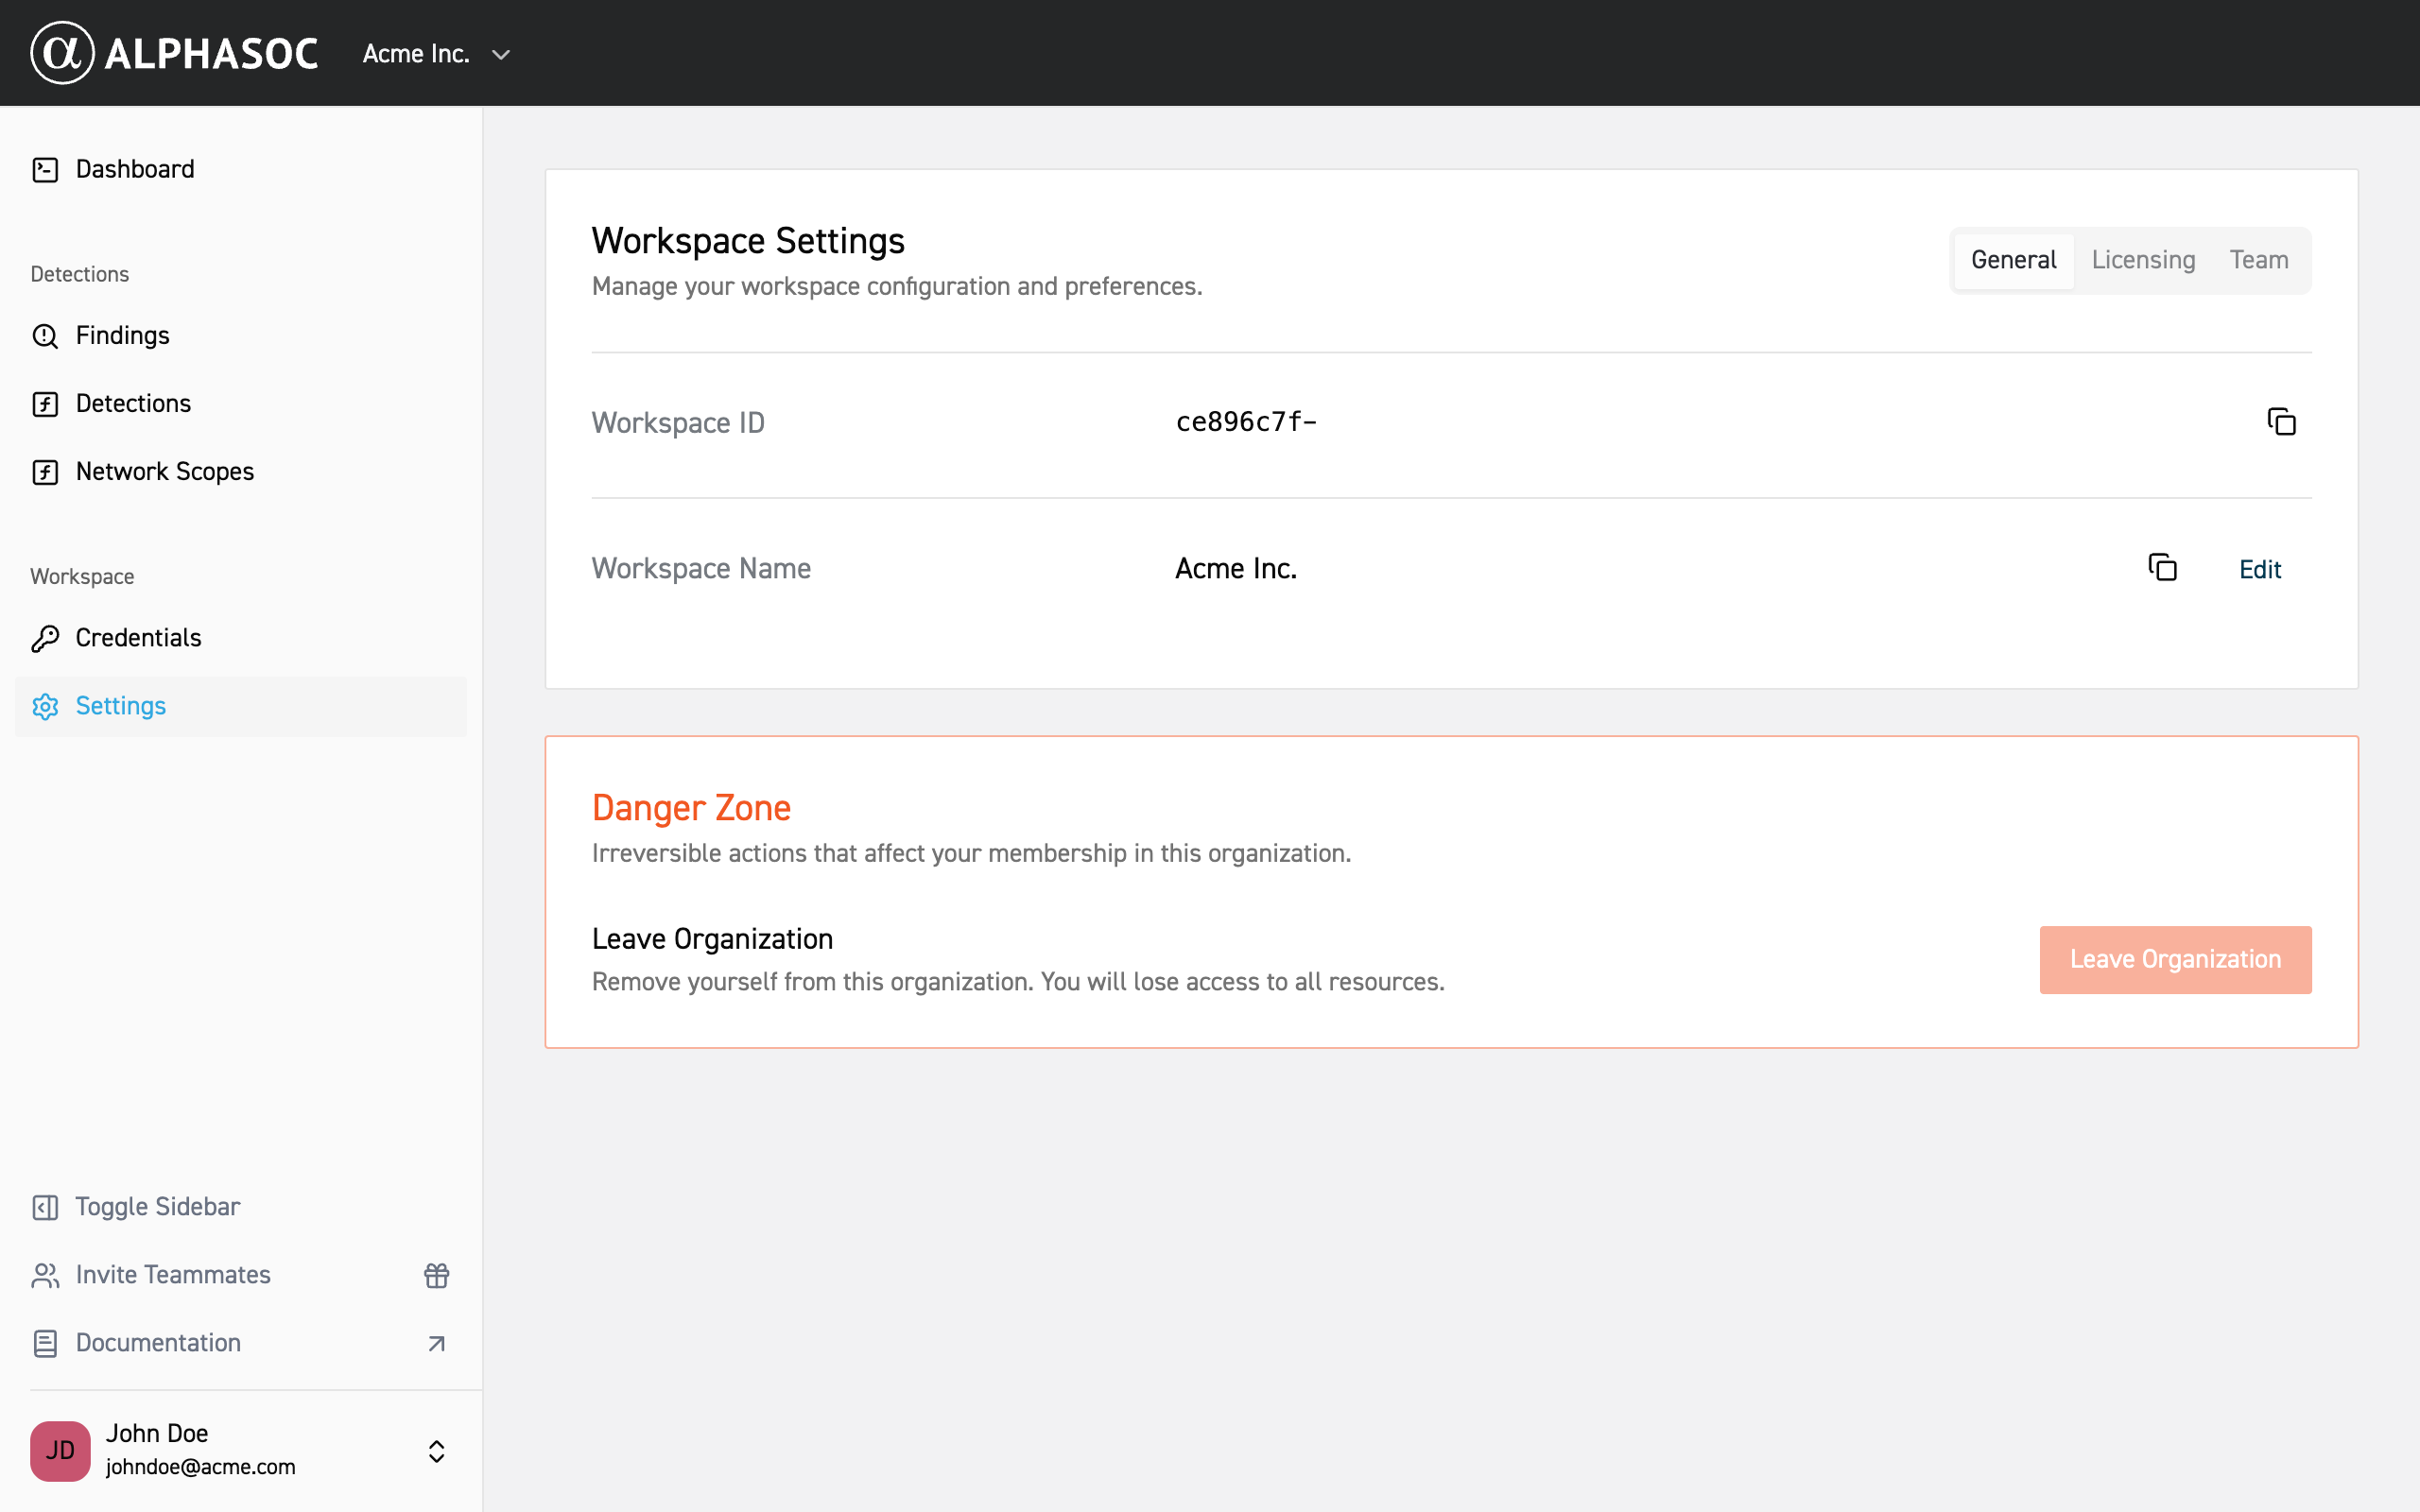
The Danger Zone section at the bottom of the page contains the Leave Organization button, which removes you from the organization and revokes your access to all resources.
Licensing
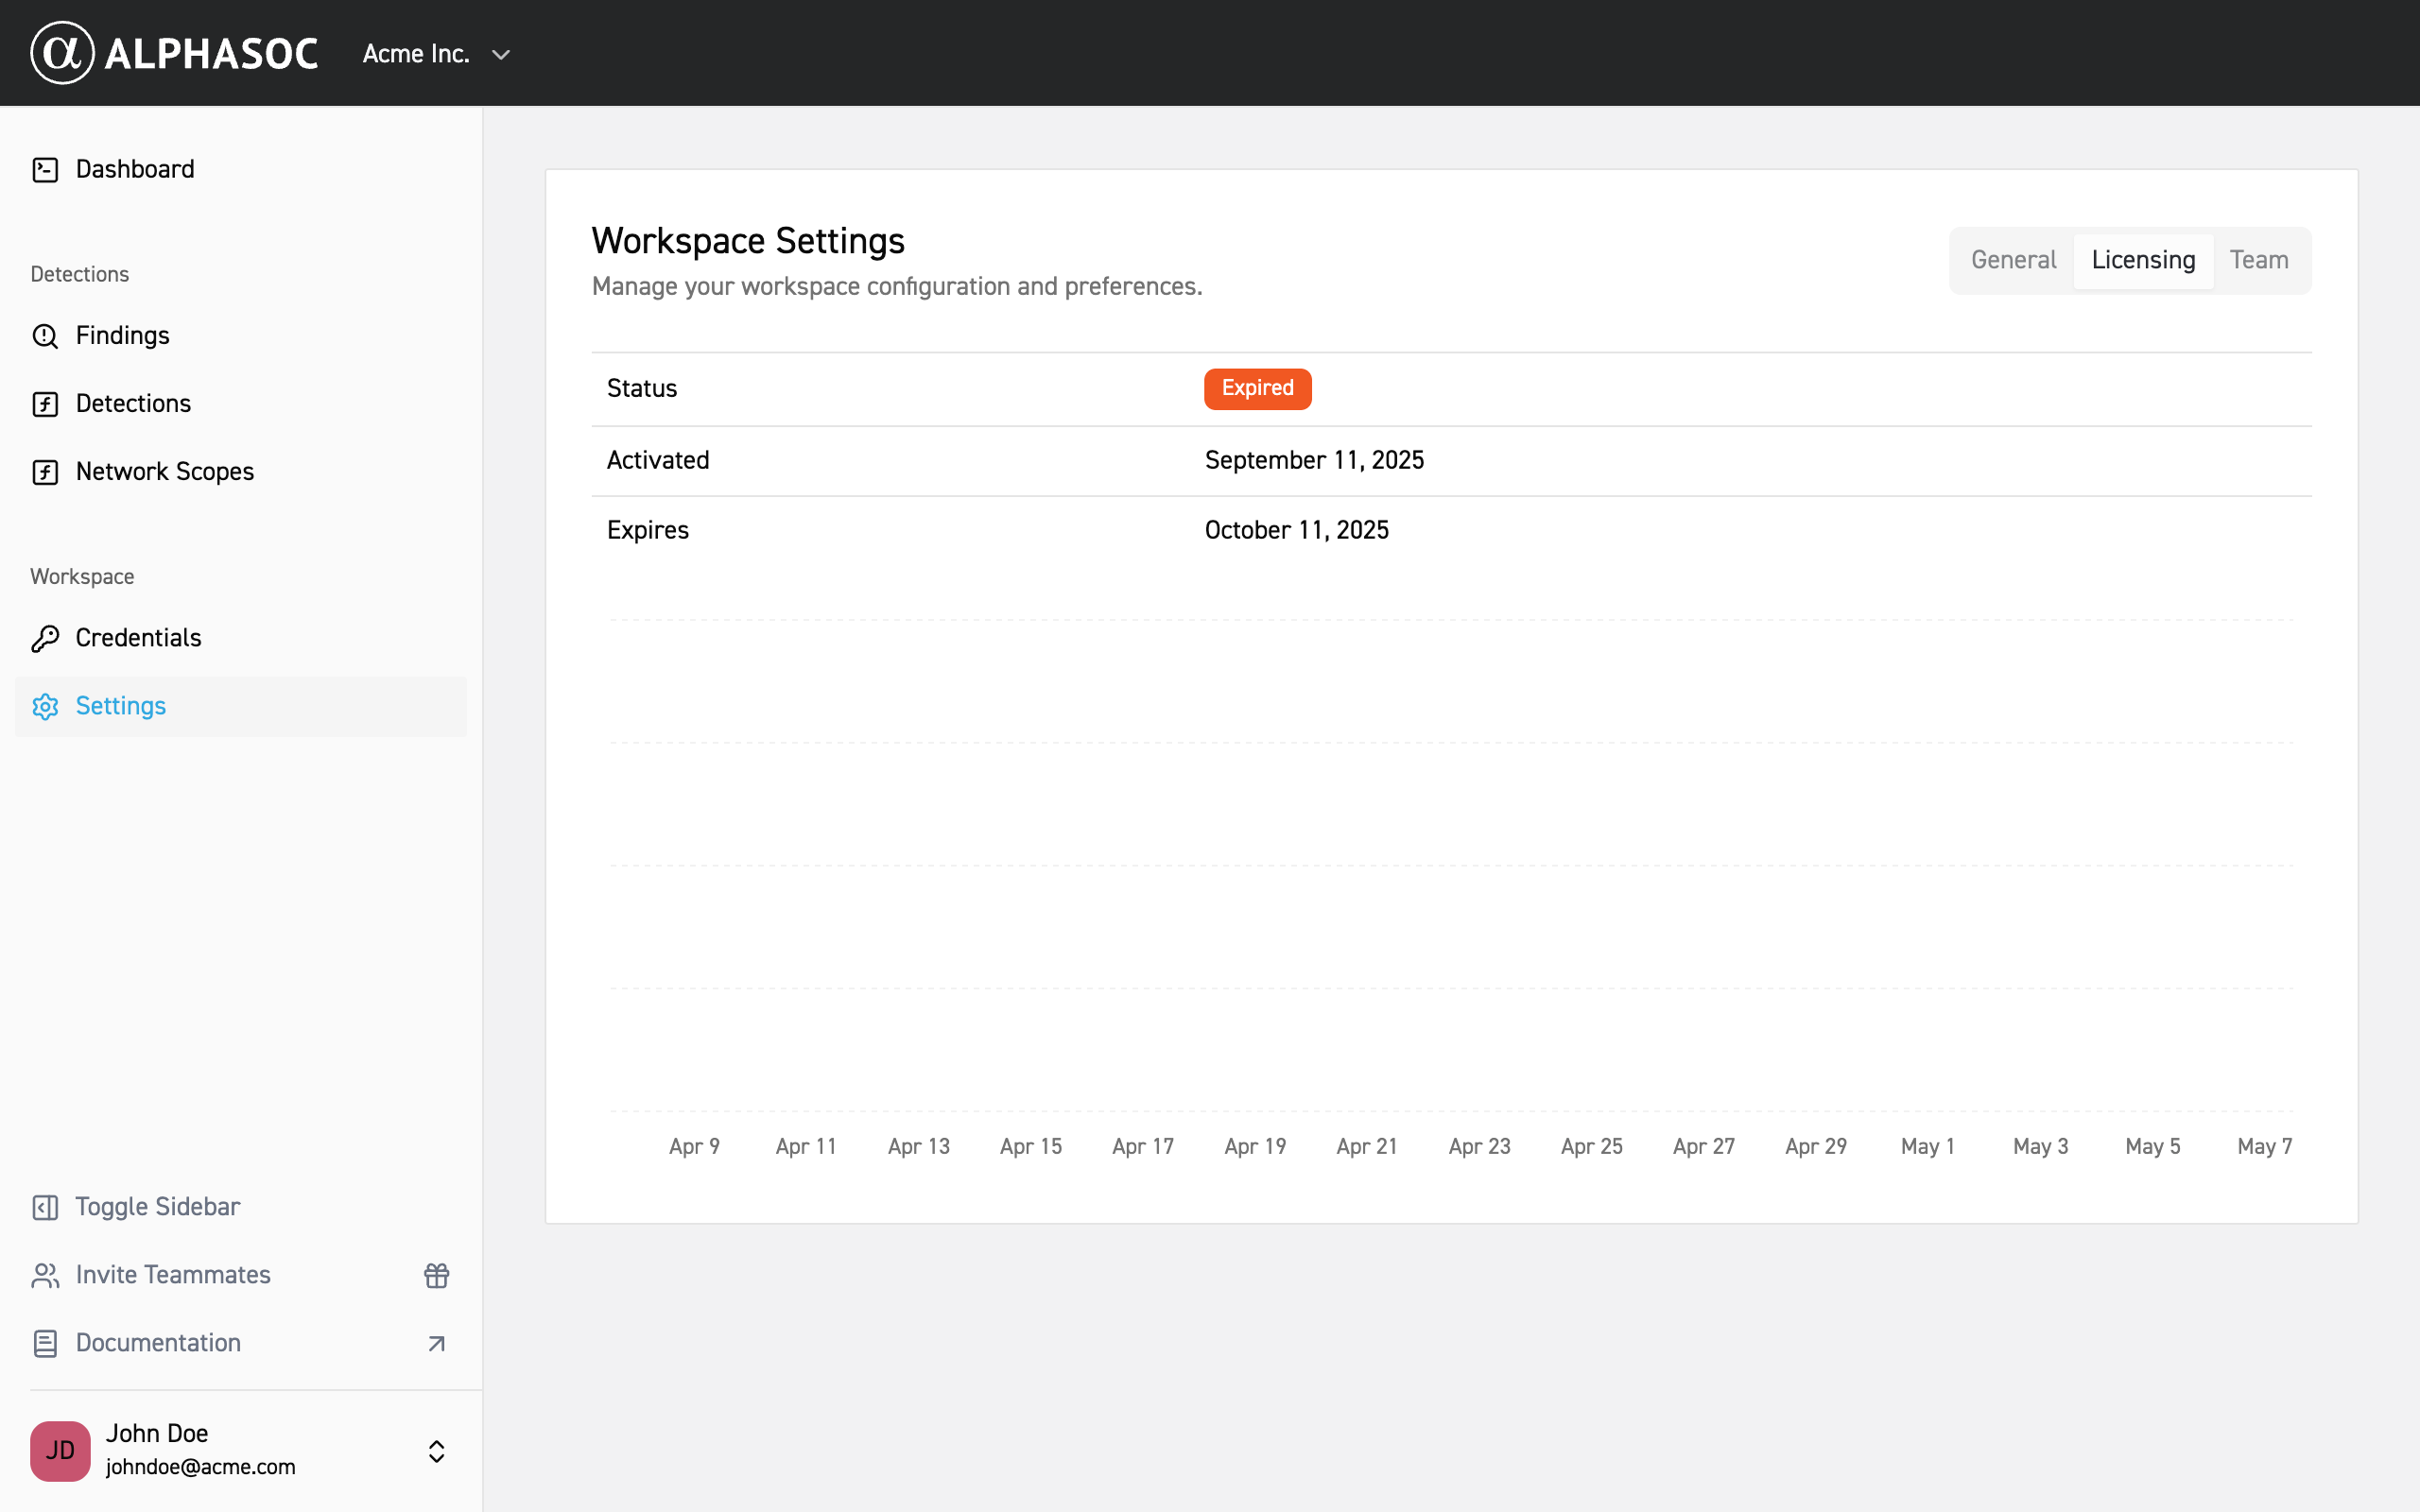
The Licensing tab shows your license Status, Activated date, and Expires date. The timeline chart below displays daily usage statistics for your organization.
Team
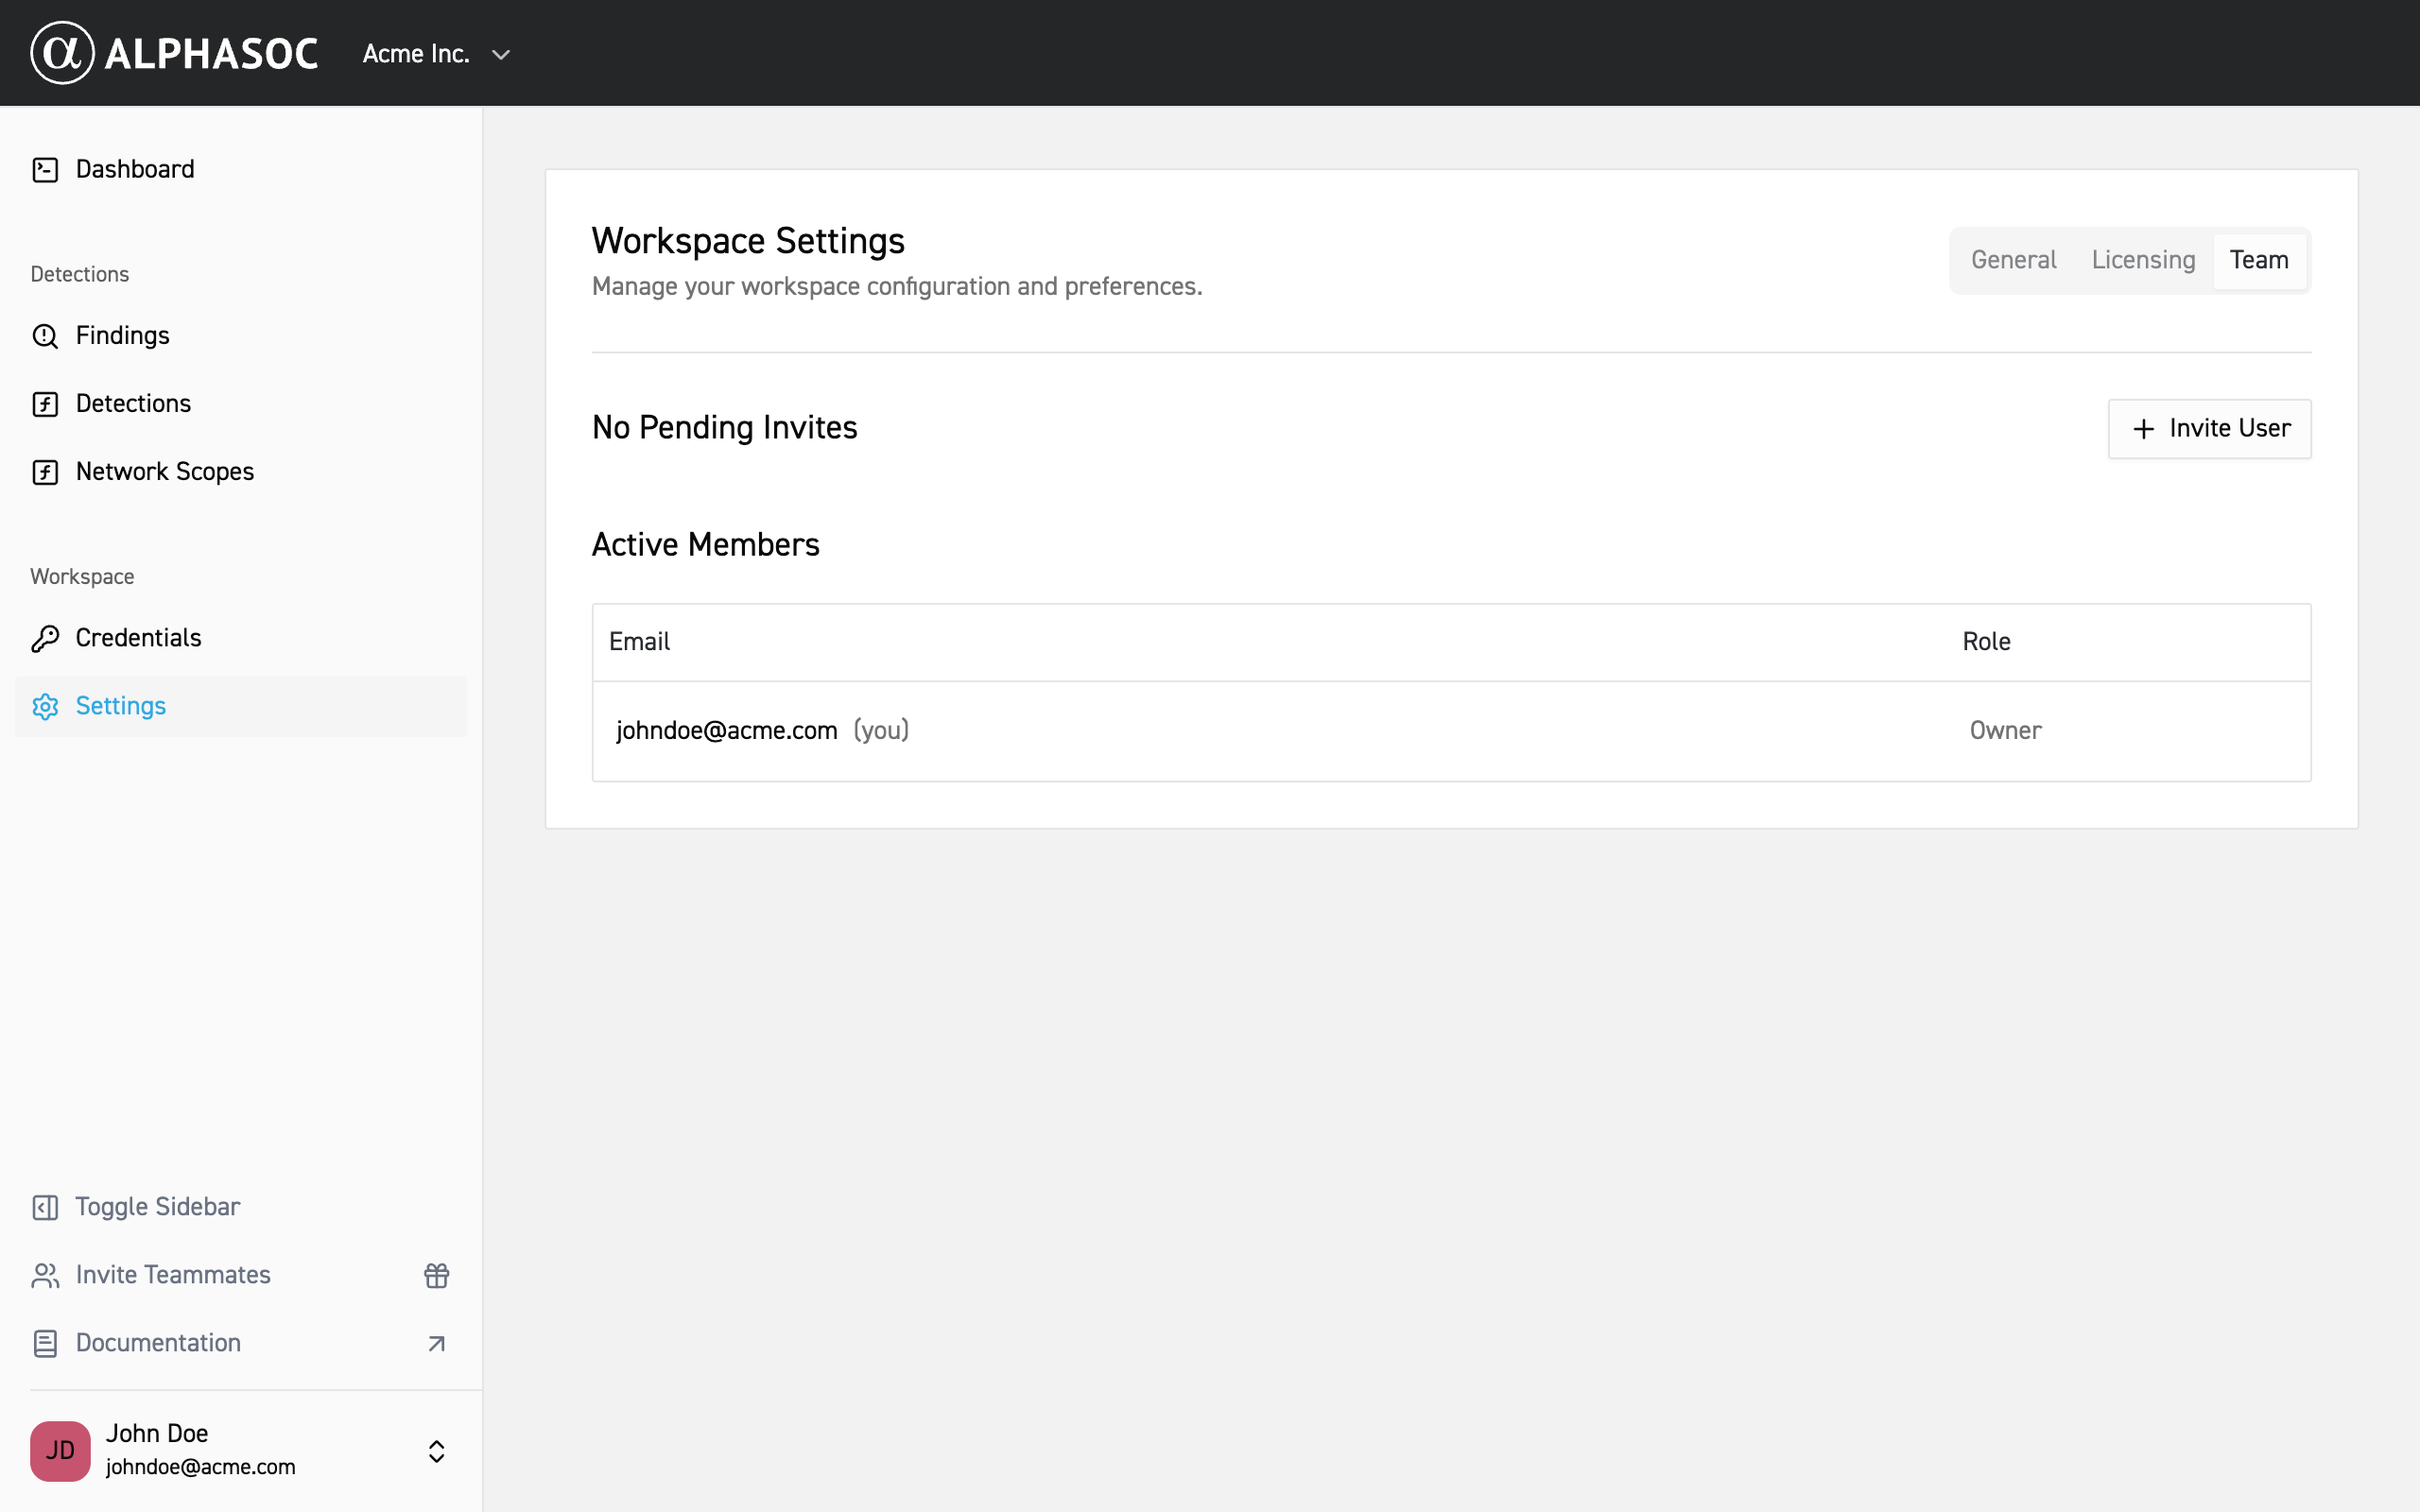
The Team tab shows all pending invitations and active members in your organization. You can get here by clicking Team in the Workspace Settings tabs, or by clicking Invite Teammates in the left sidebar.
SSO
The SSO tab is where an Owner requests Okta single sign-on for the
workspace and, once a request is submitted, sees its status. See
Okta SSO Integration for the full
walkthrough.
Managing Users
The table shows active members, along with their email addresses and their assigned role.
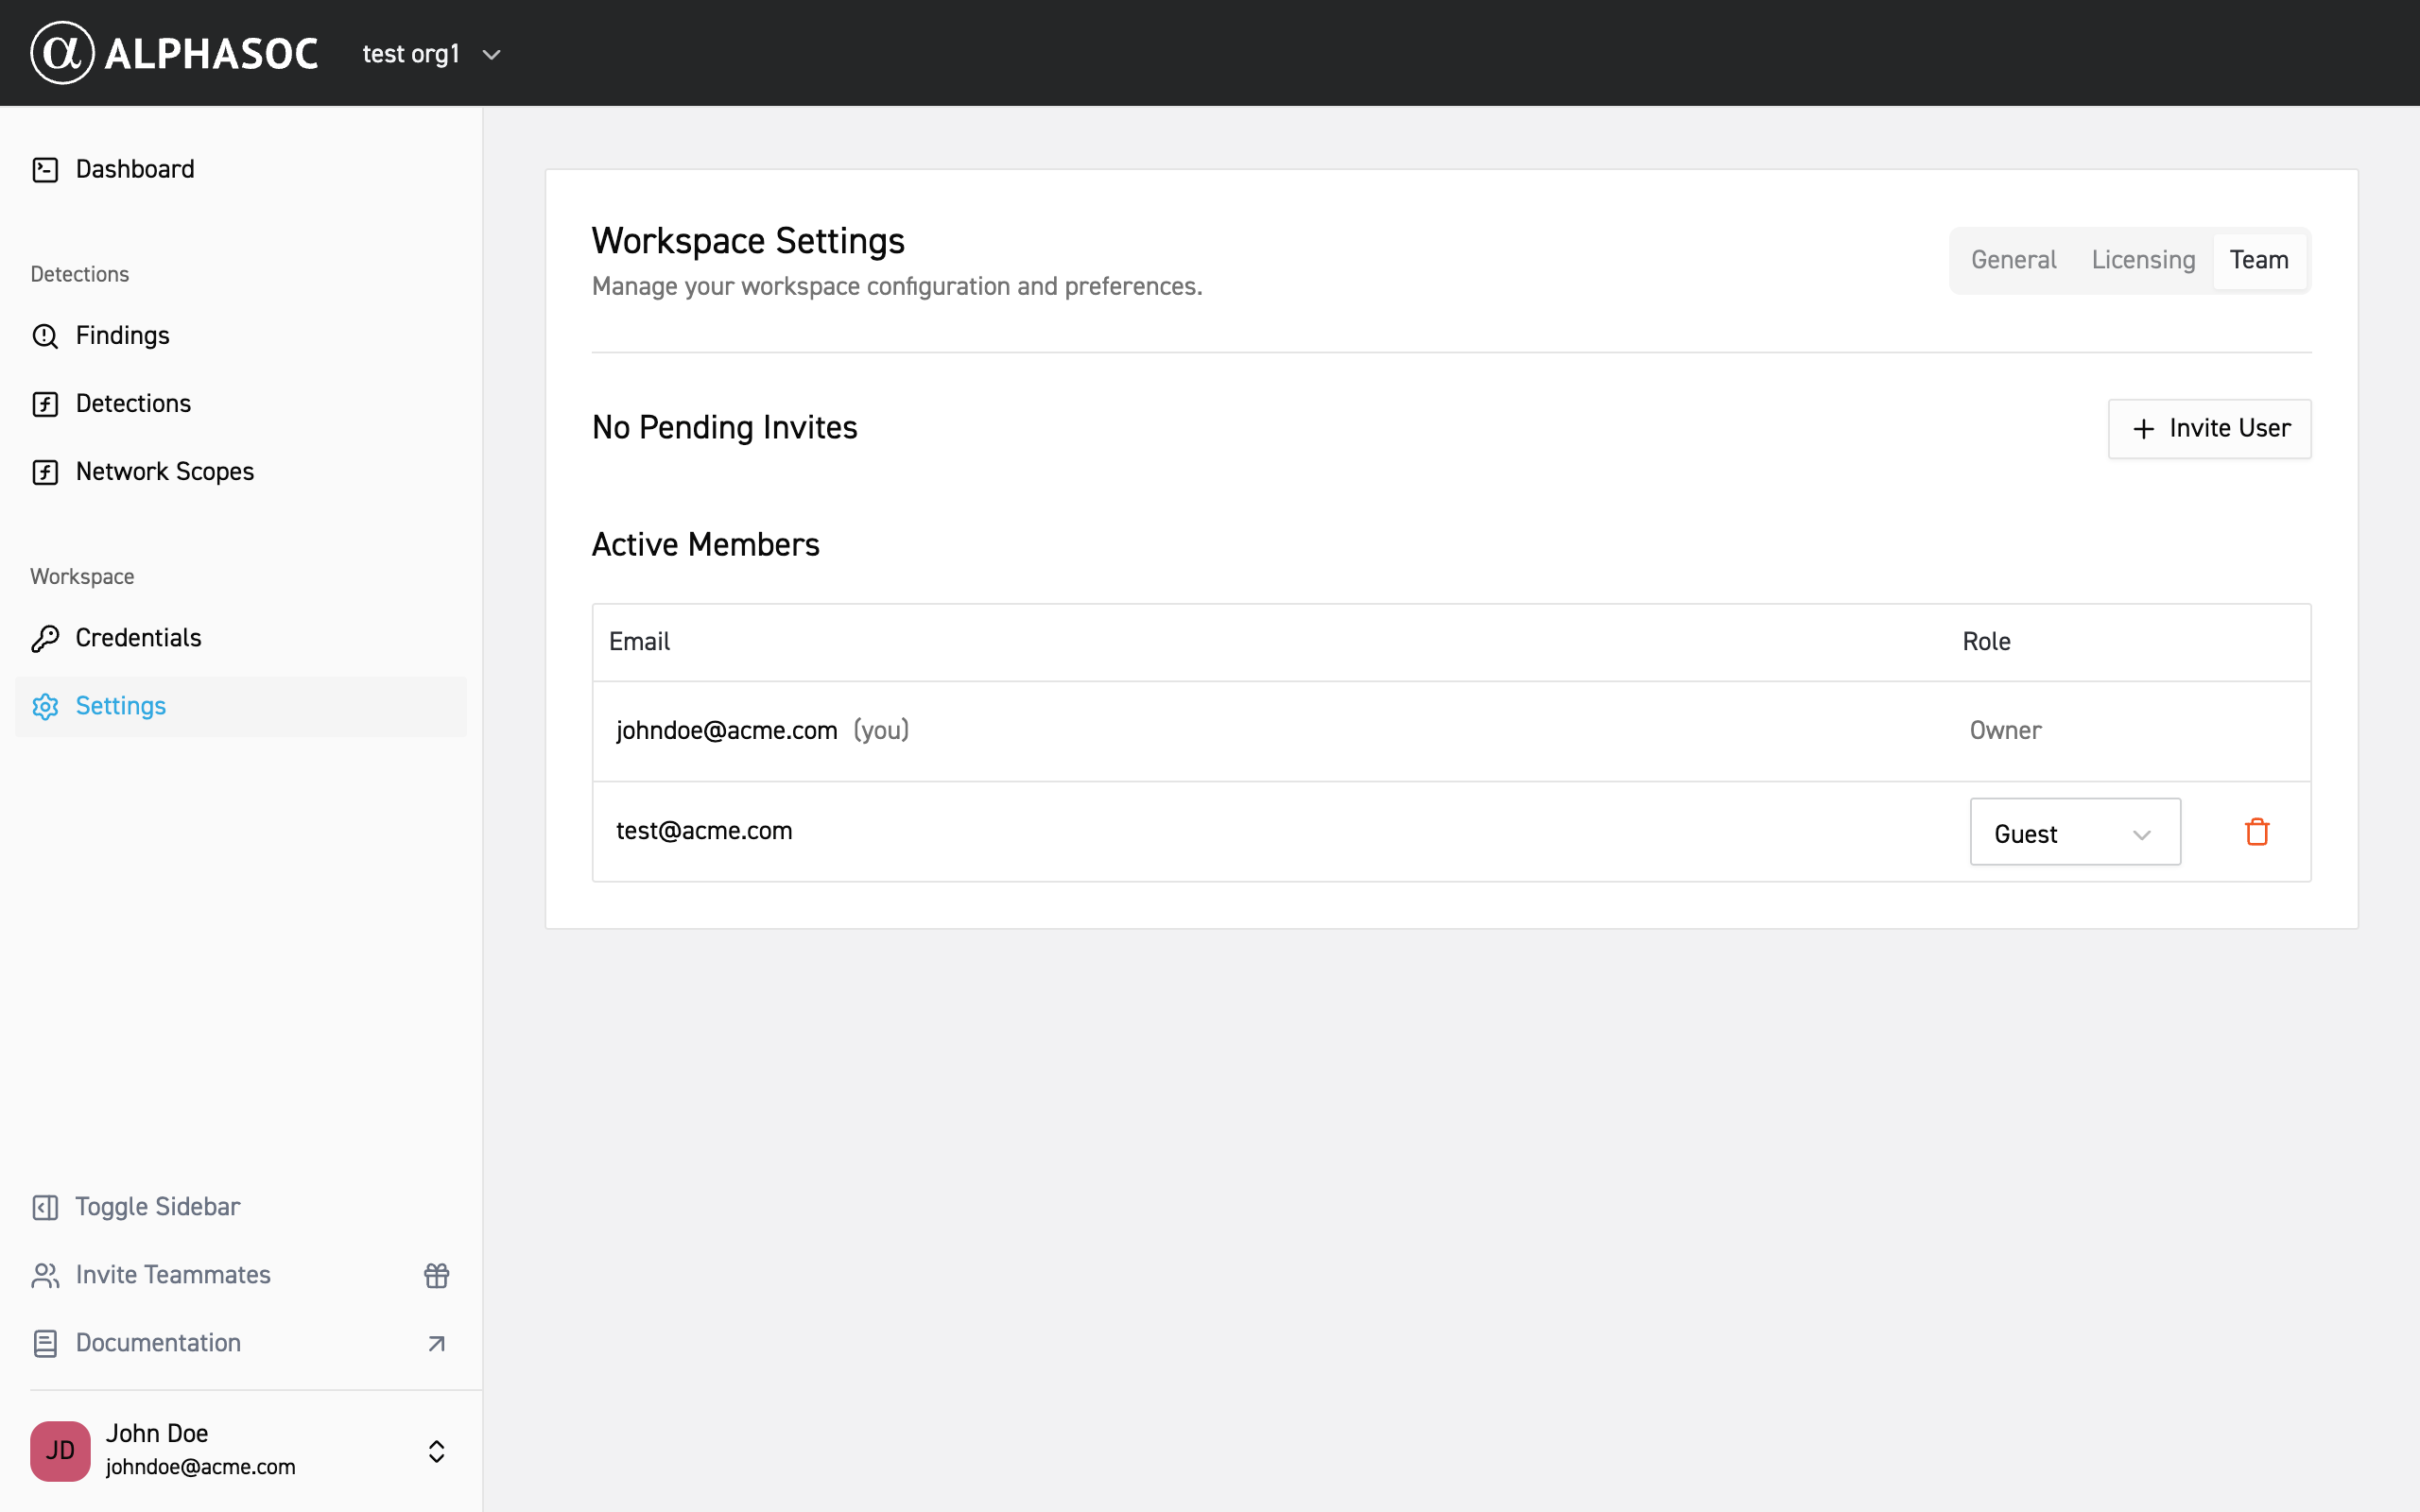
On this page you can invite new users, change user roles, and remove users from the organization.
Inviting users to the organization
To invite a new user:
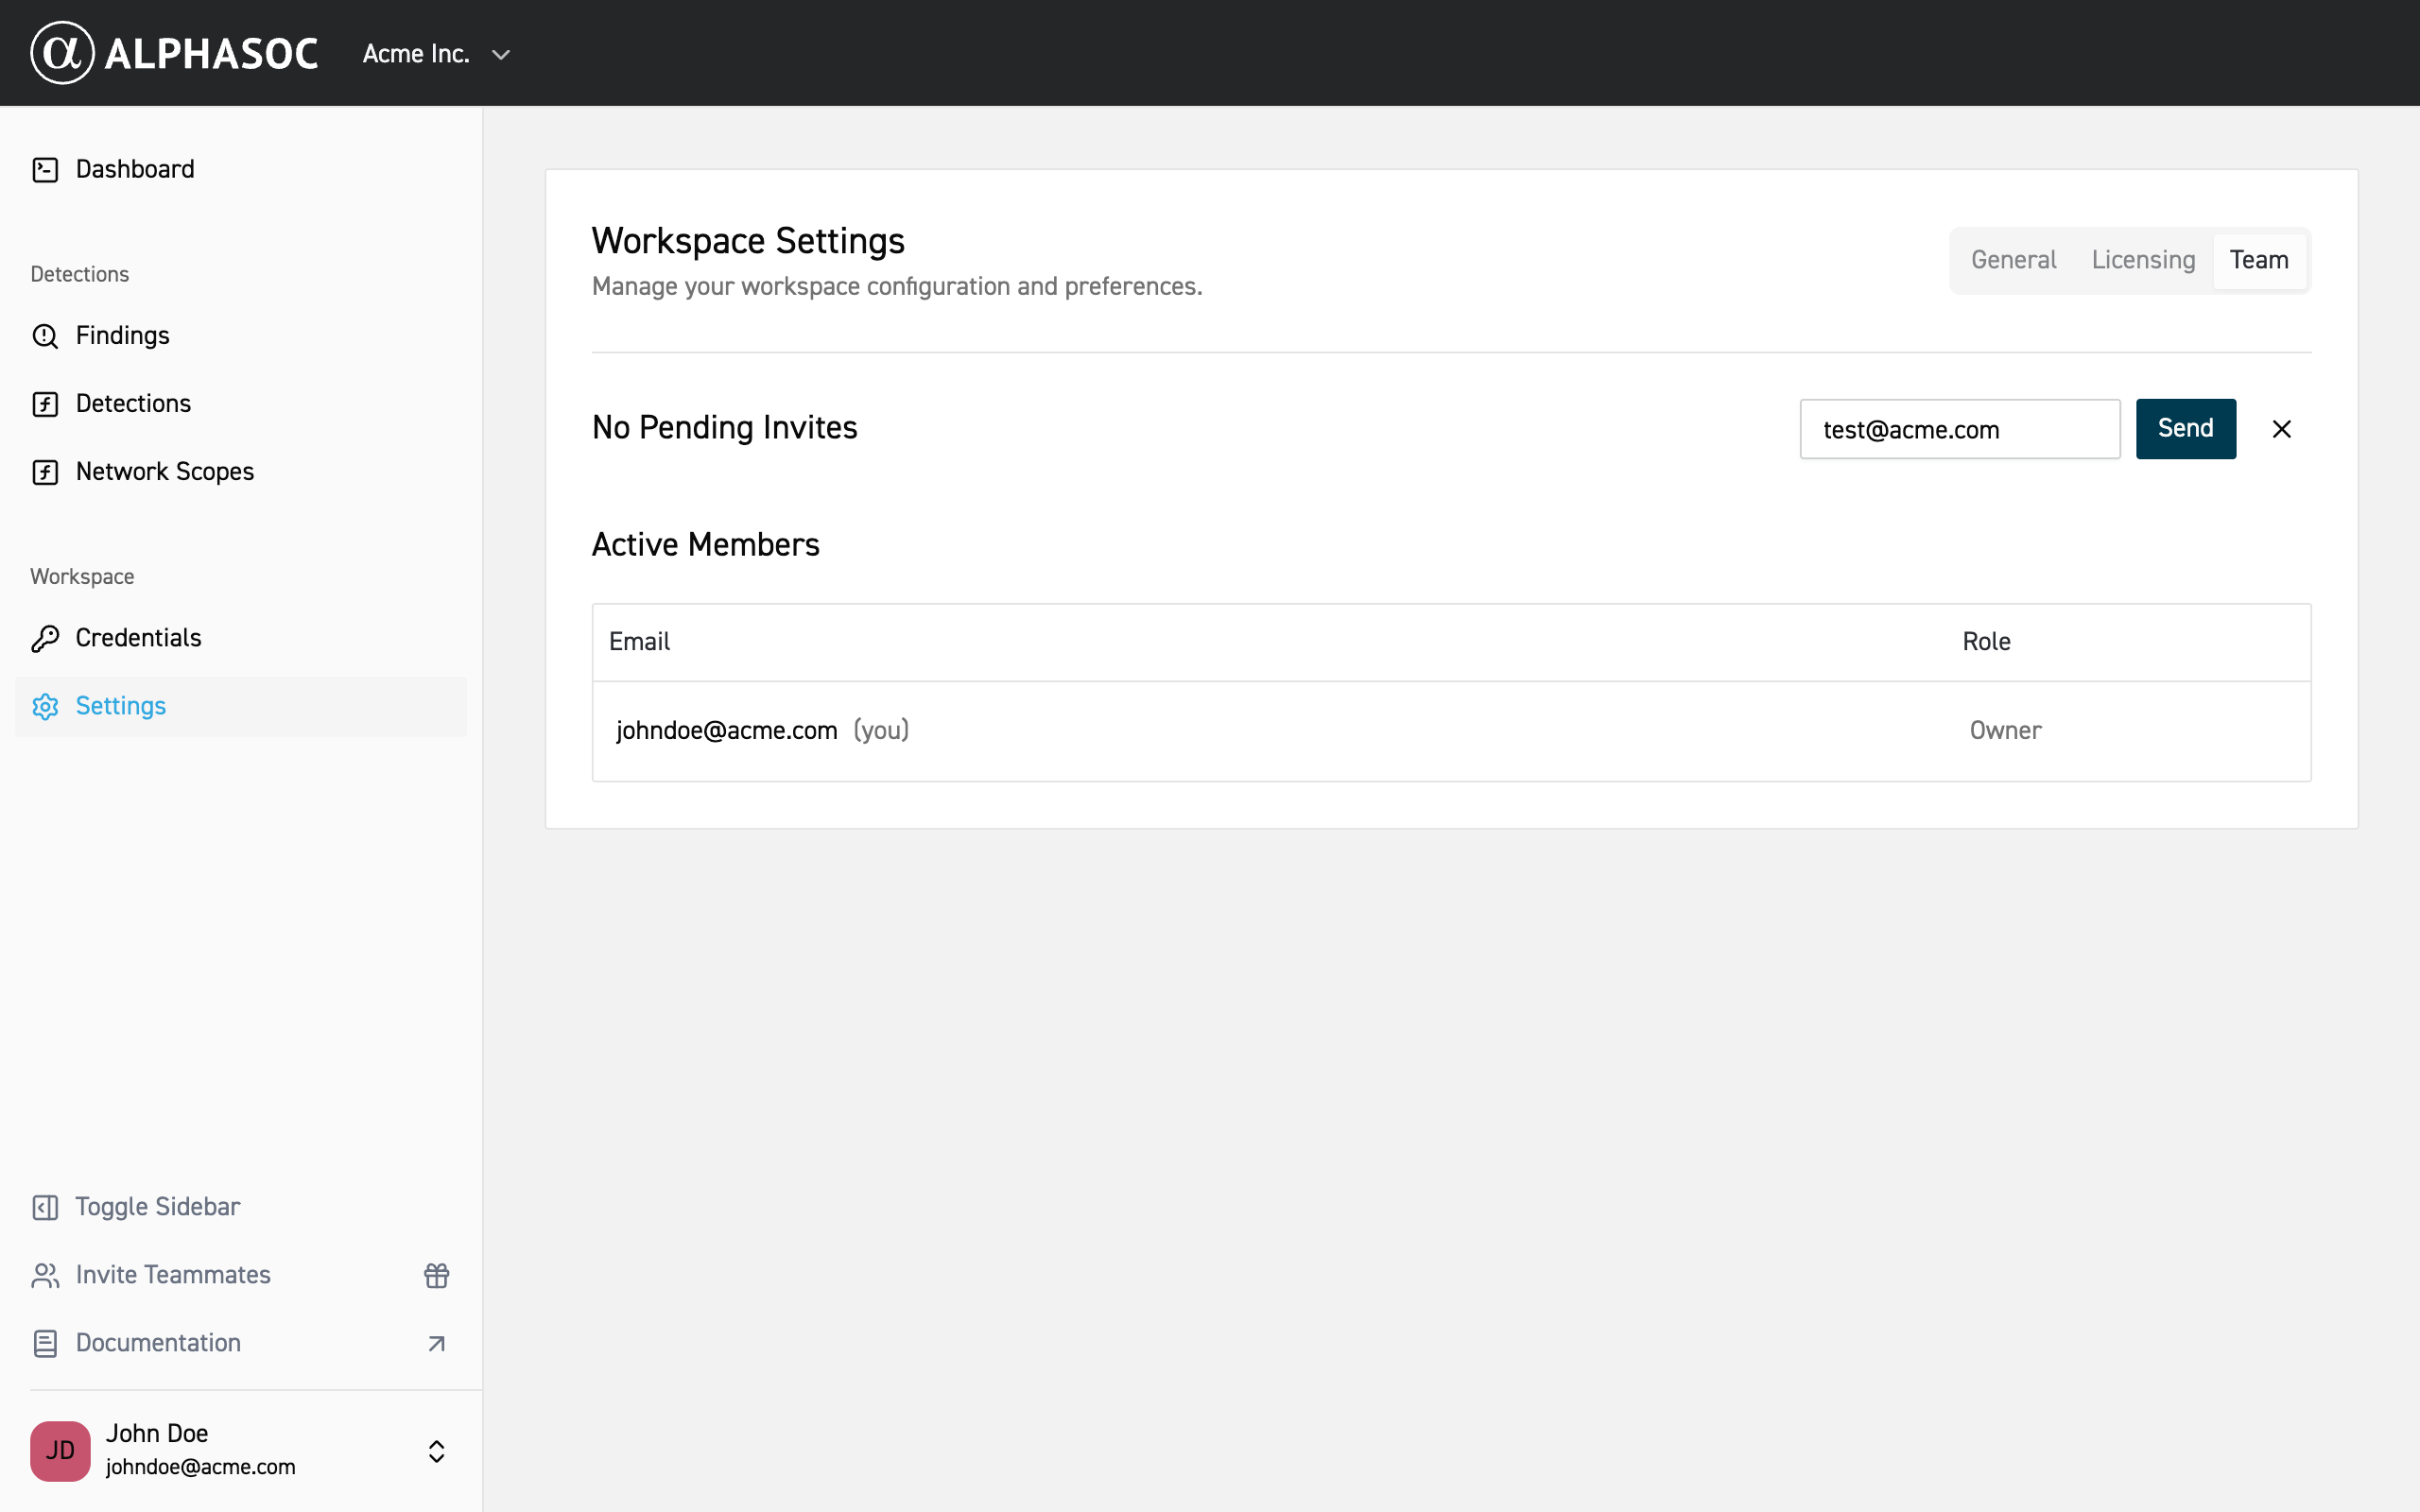
- Go to the Team tab and click Invite User.
- Enter the user's email address in the input field that appears and click Send.
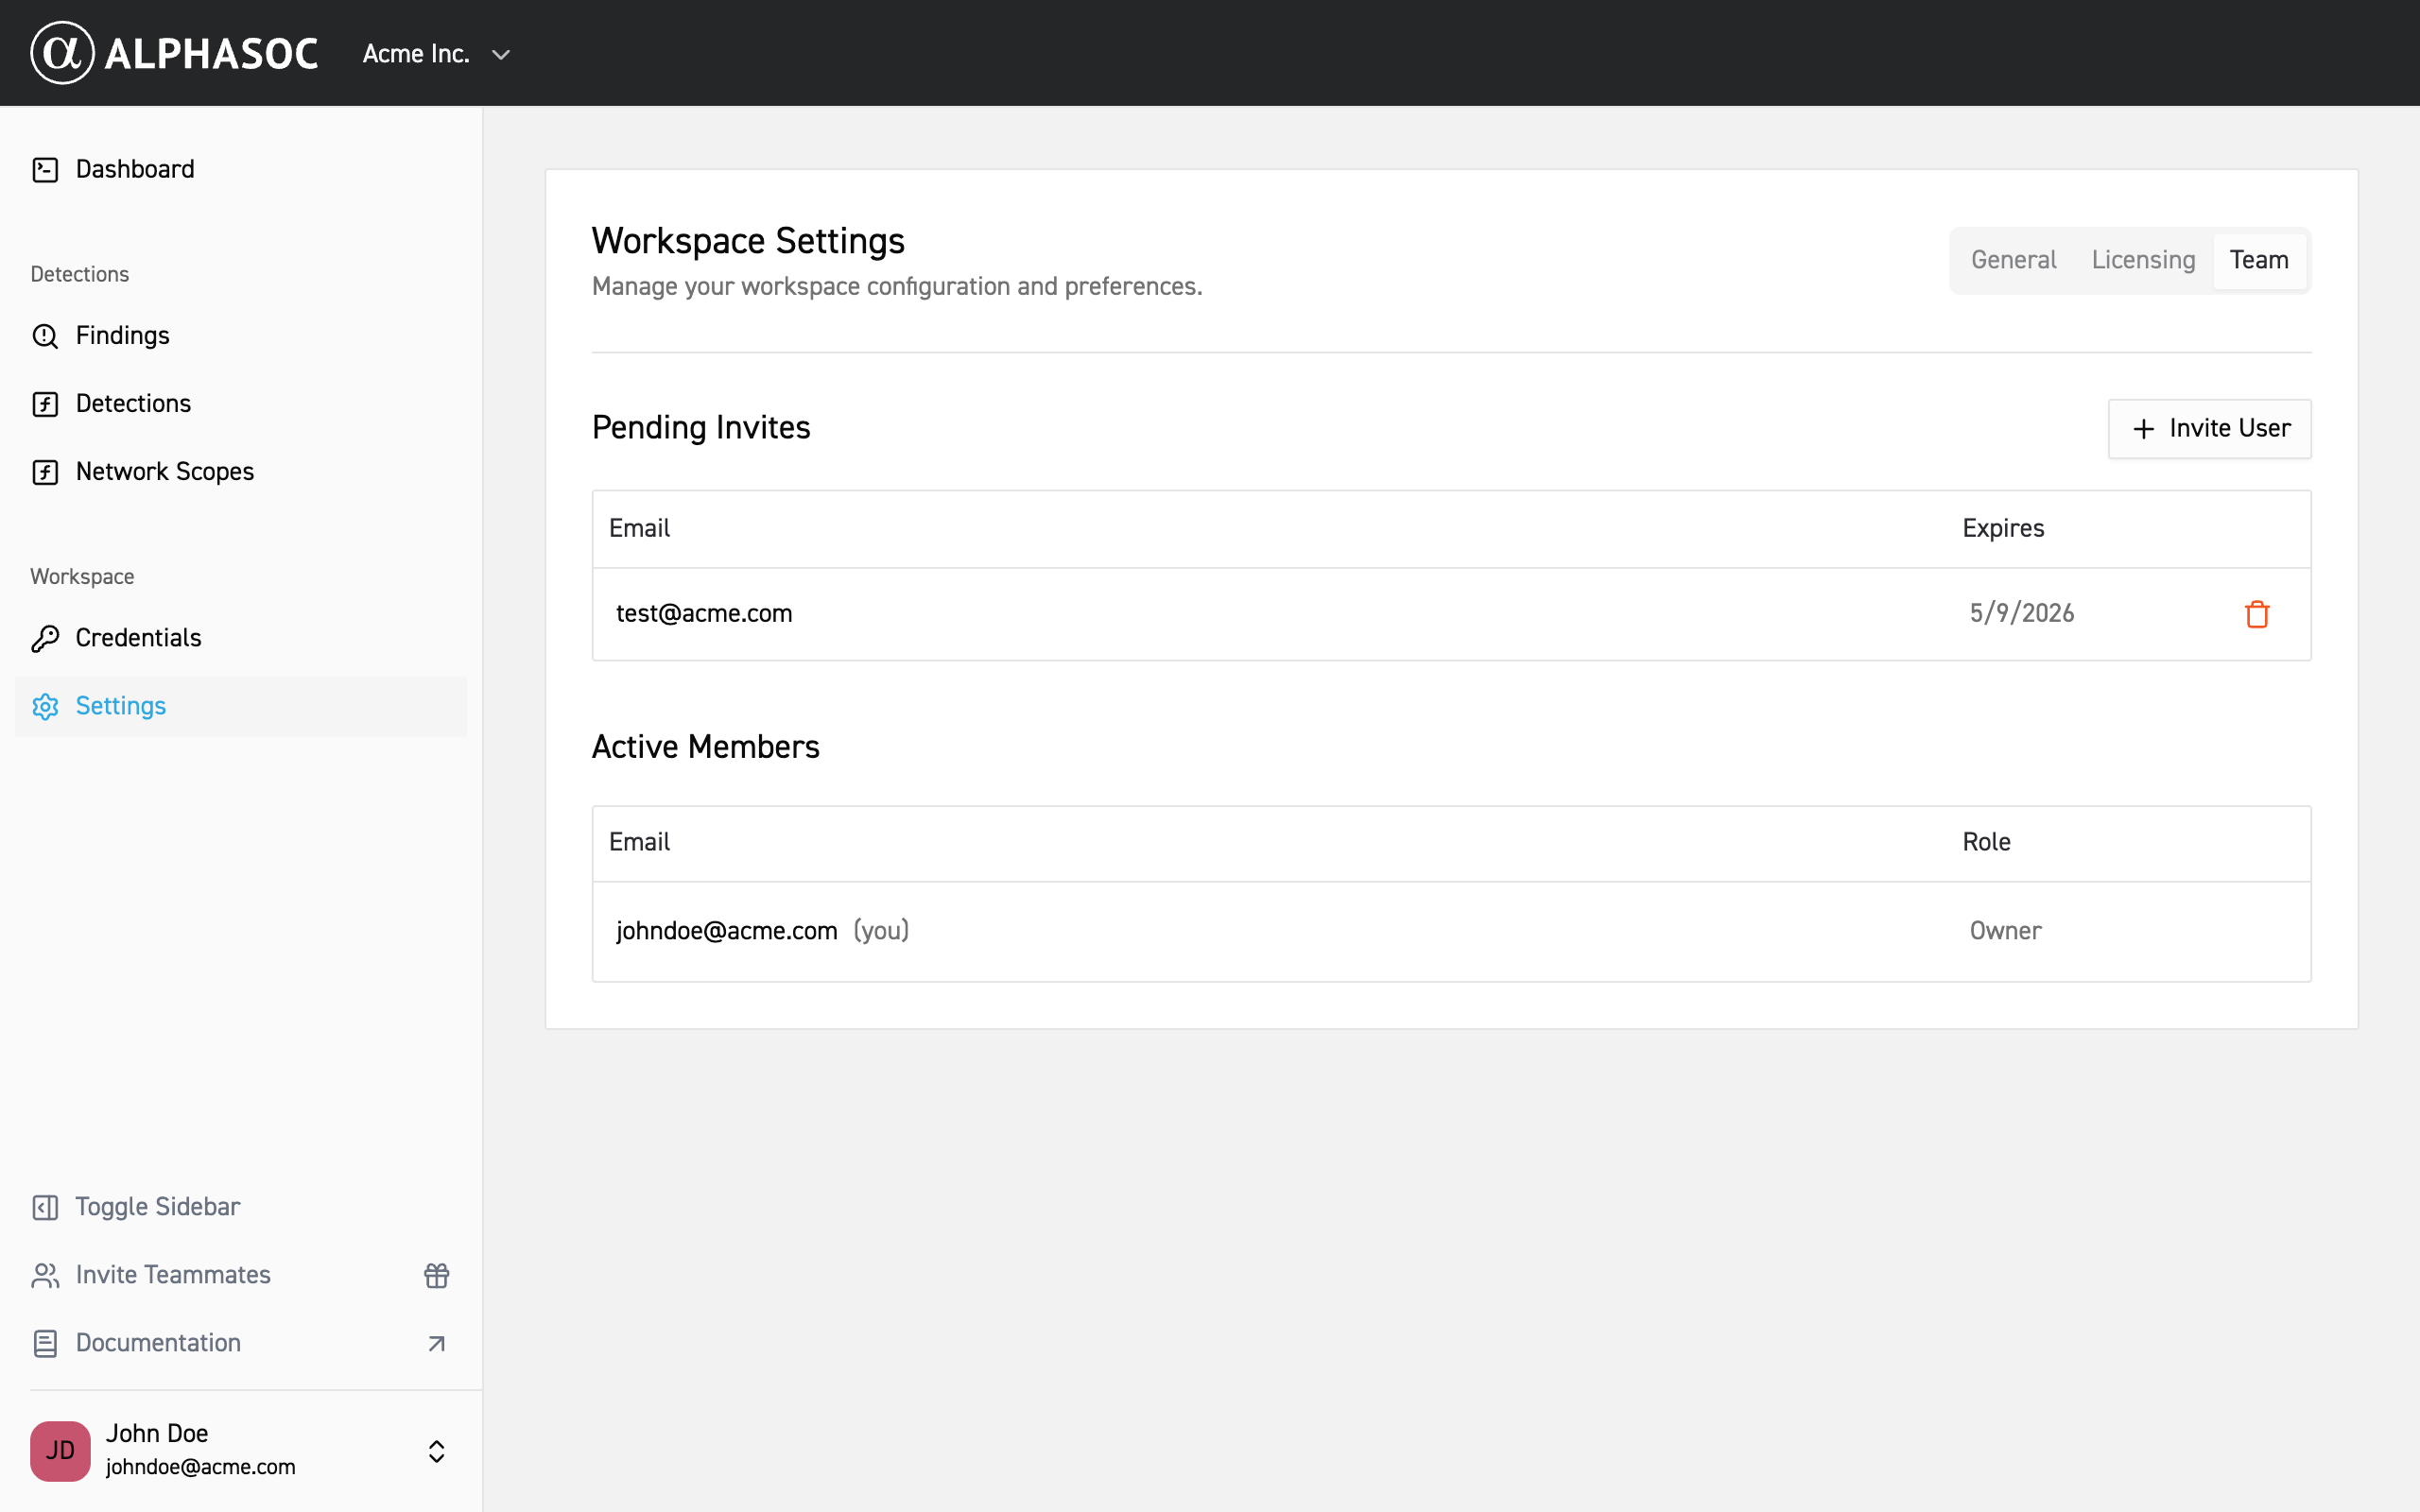
The invitation will appear in the Pending Invites table with an expiration date. You can cancel a pending invitation at any time by clicking the trash icon next to it.
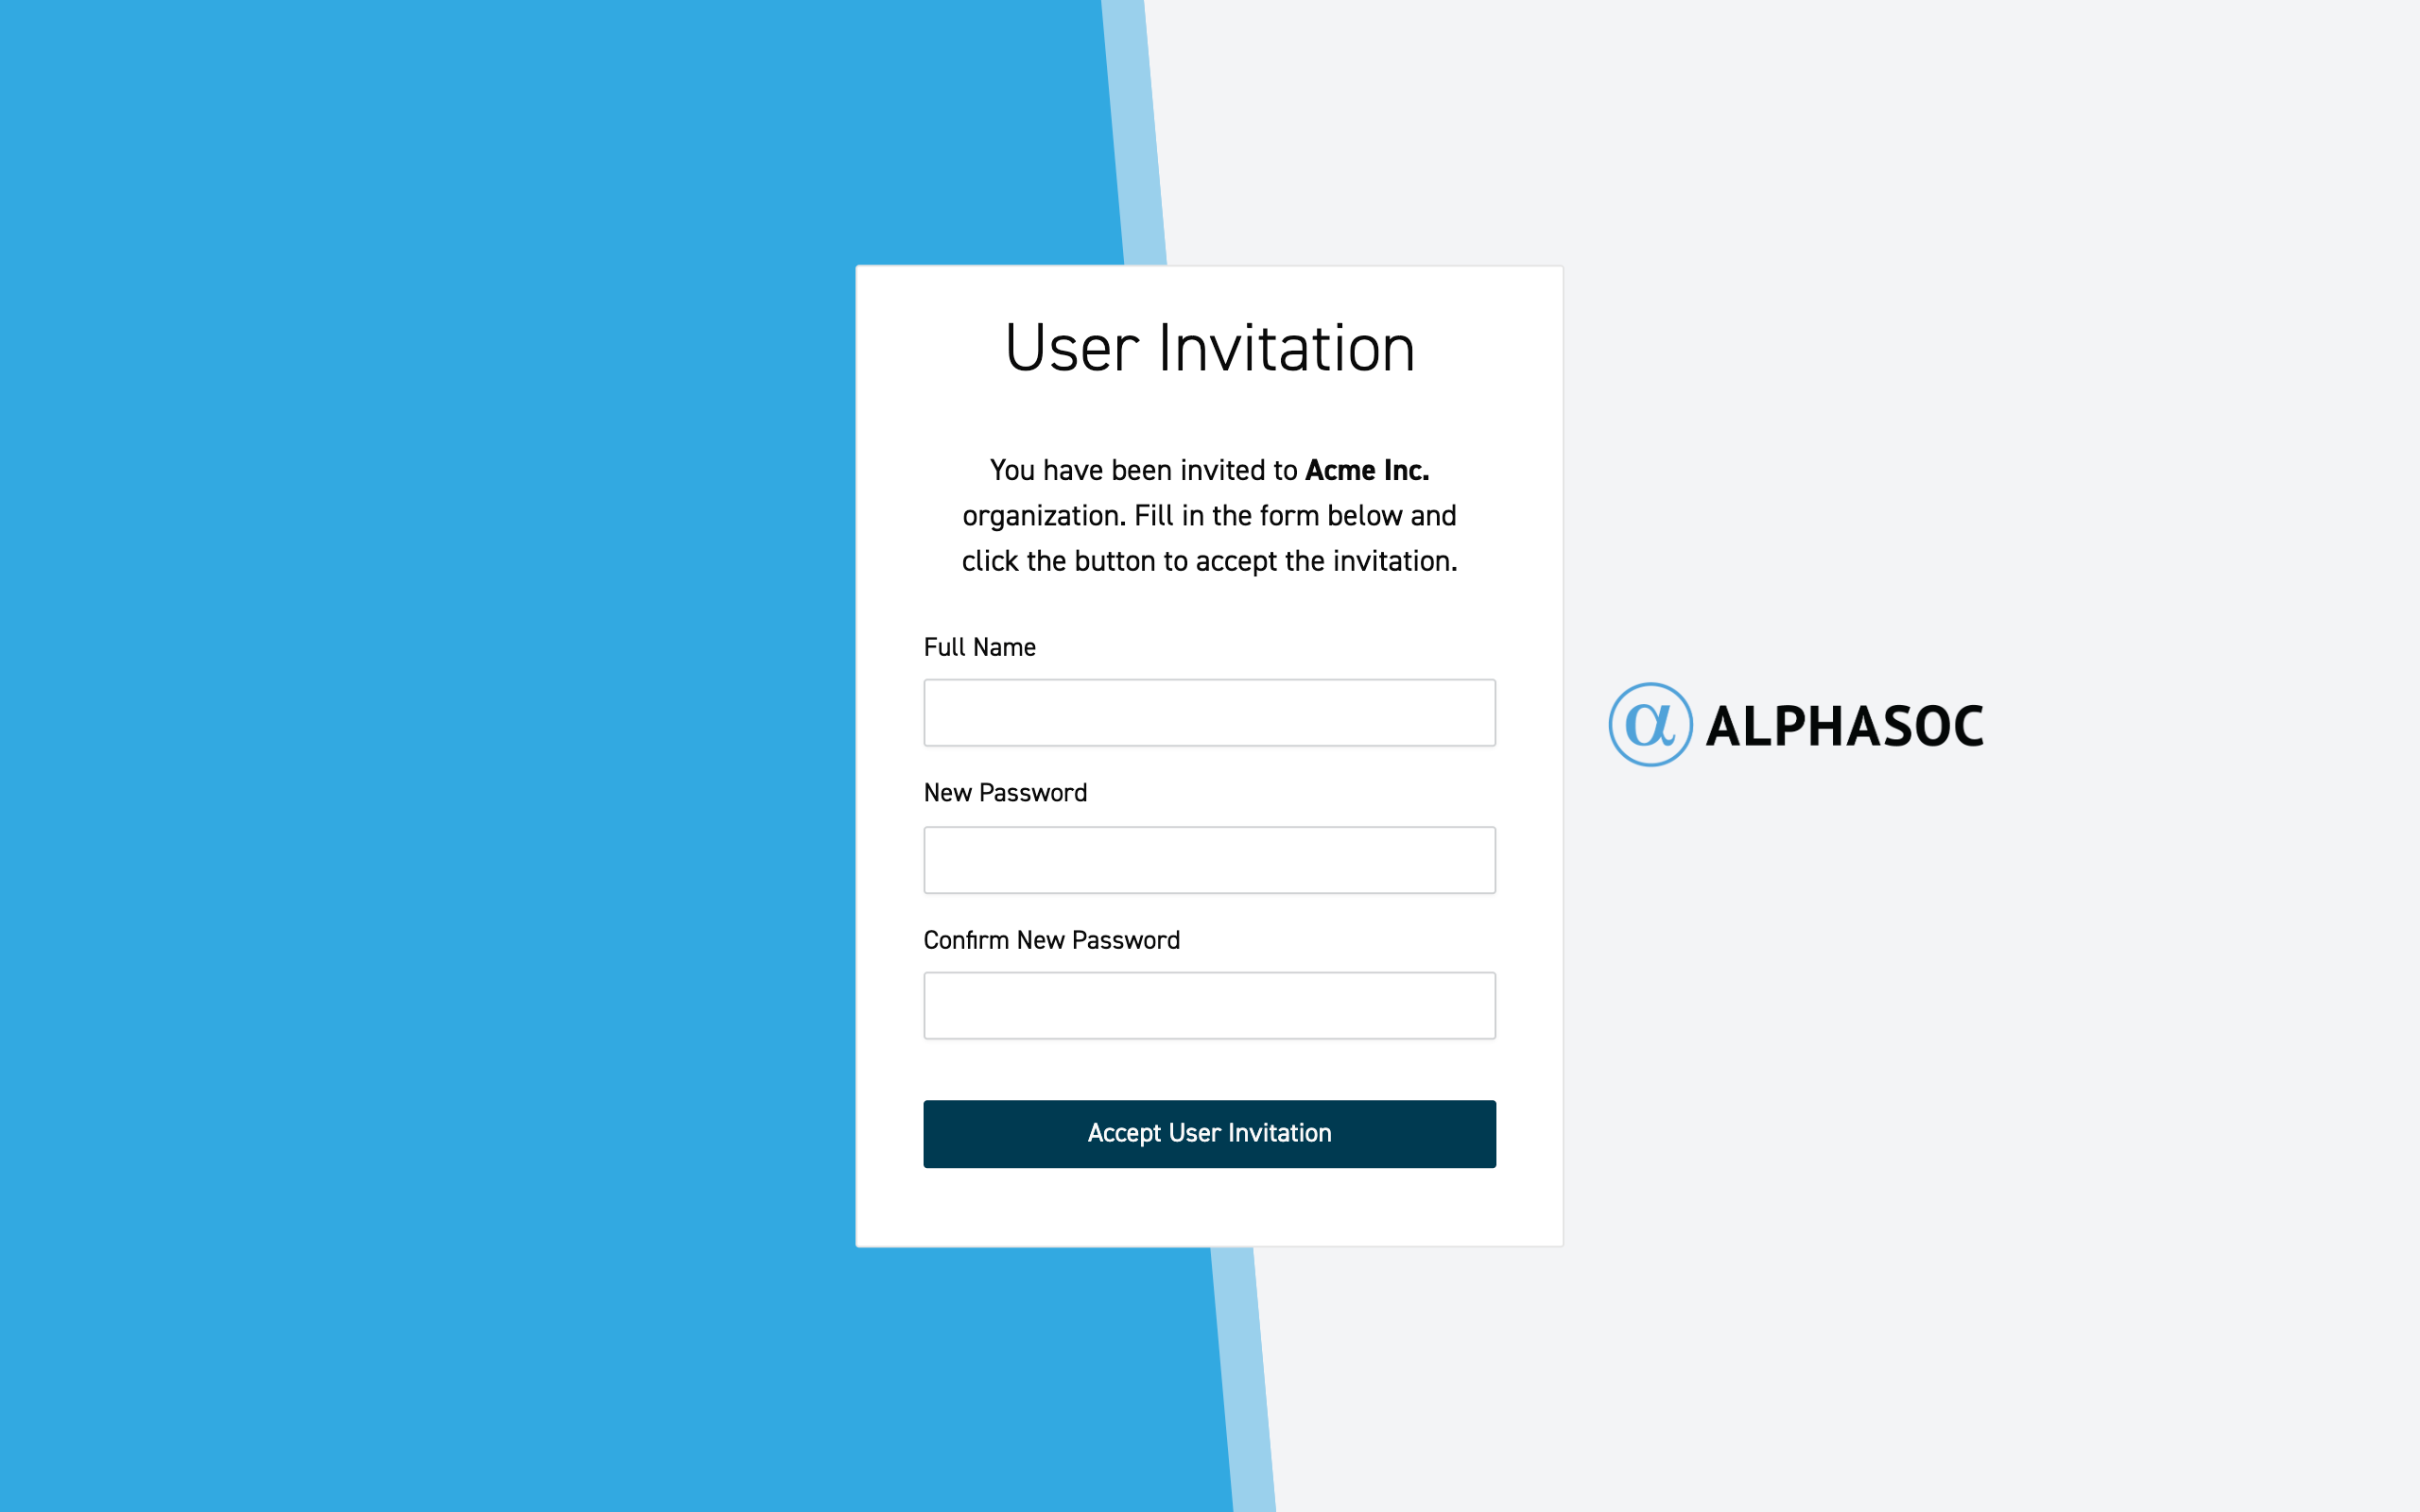
The invited user will receive an email with a link to accept the invitation. Clicking the link opens the invitation page, where the user is prompted to enter their full name and set a password.
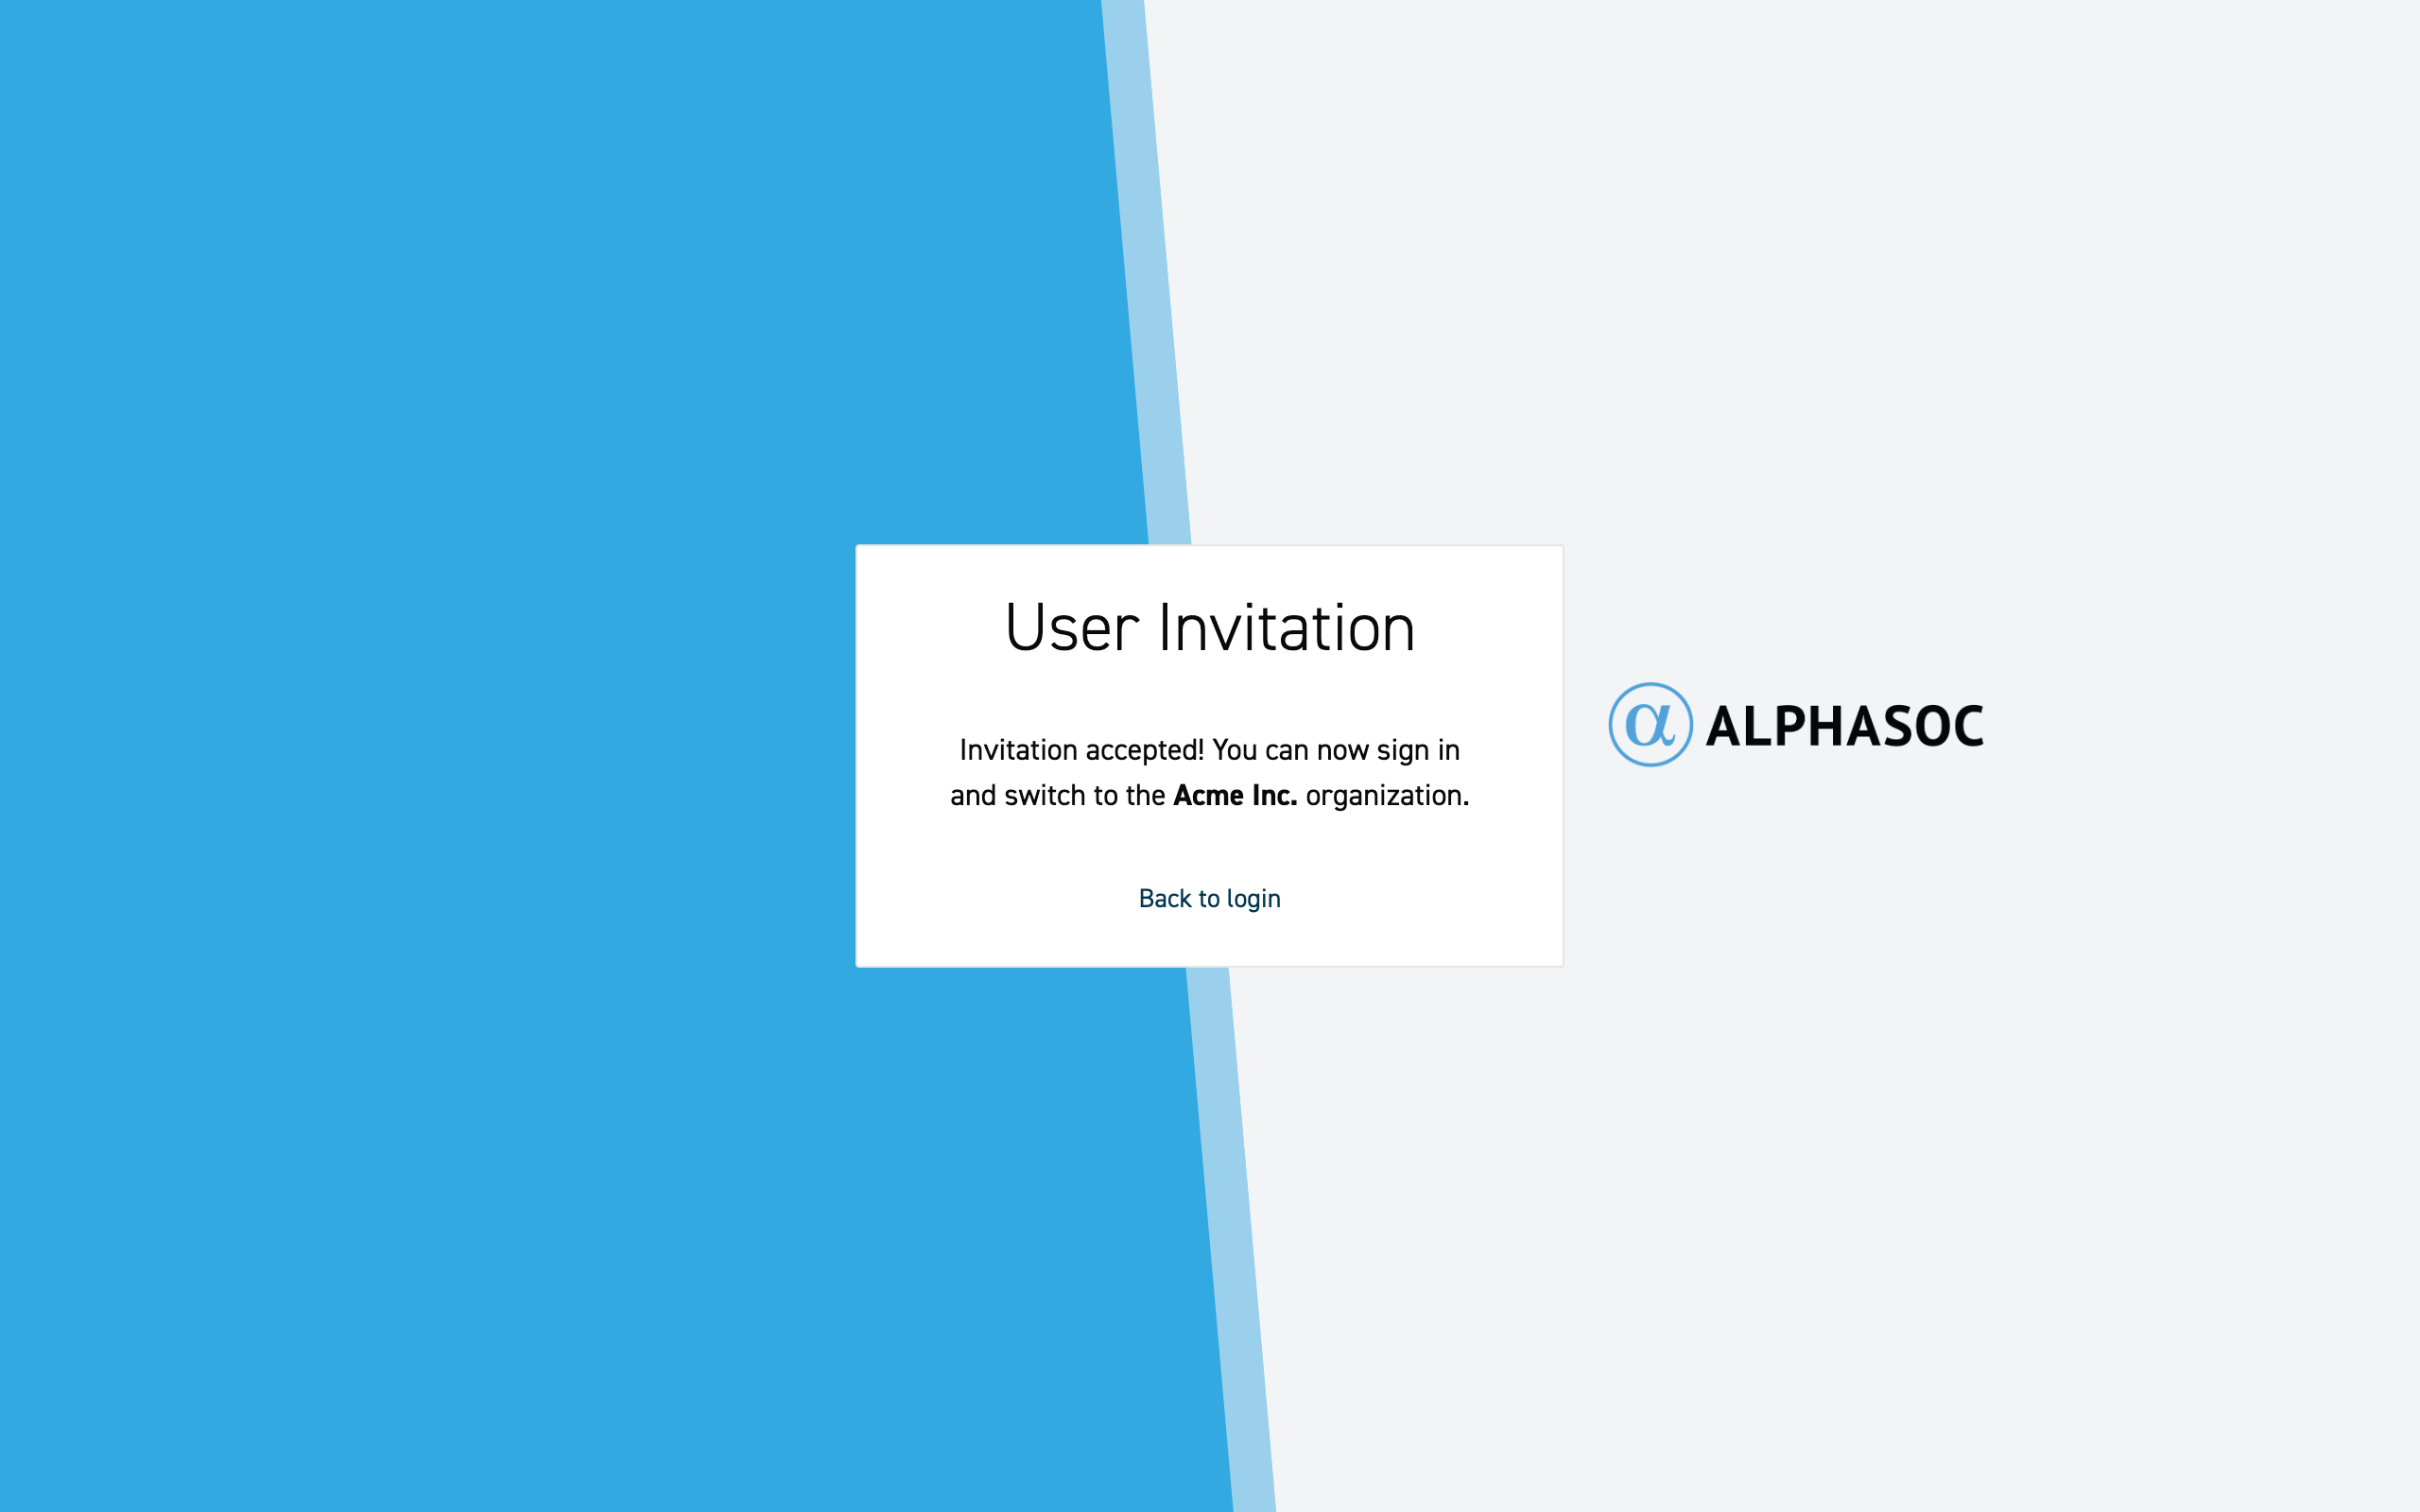
After clicking Accept User Invitation, the user will see a confirmation message and can sign in to access the organization.
Once a user accepts their invitation, they appear in the Active Members table on the Team tab.
Changing user roles
An Owner can change another member's role by clicking the role dropdown next
to their name and selecting a new role.
Removing users
An Owner can remove a member from the organization by clicking the trash icon
in their row.