Destinations
Use the Destinations page to send AlphaSOC findings and alerts to your SIEM or other third‑party platforms for analysis, investigation, and incident response. You can currently configure Cribl, Amazon S3, and Kafka as destinations.
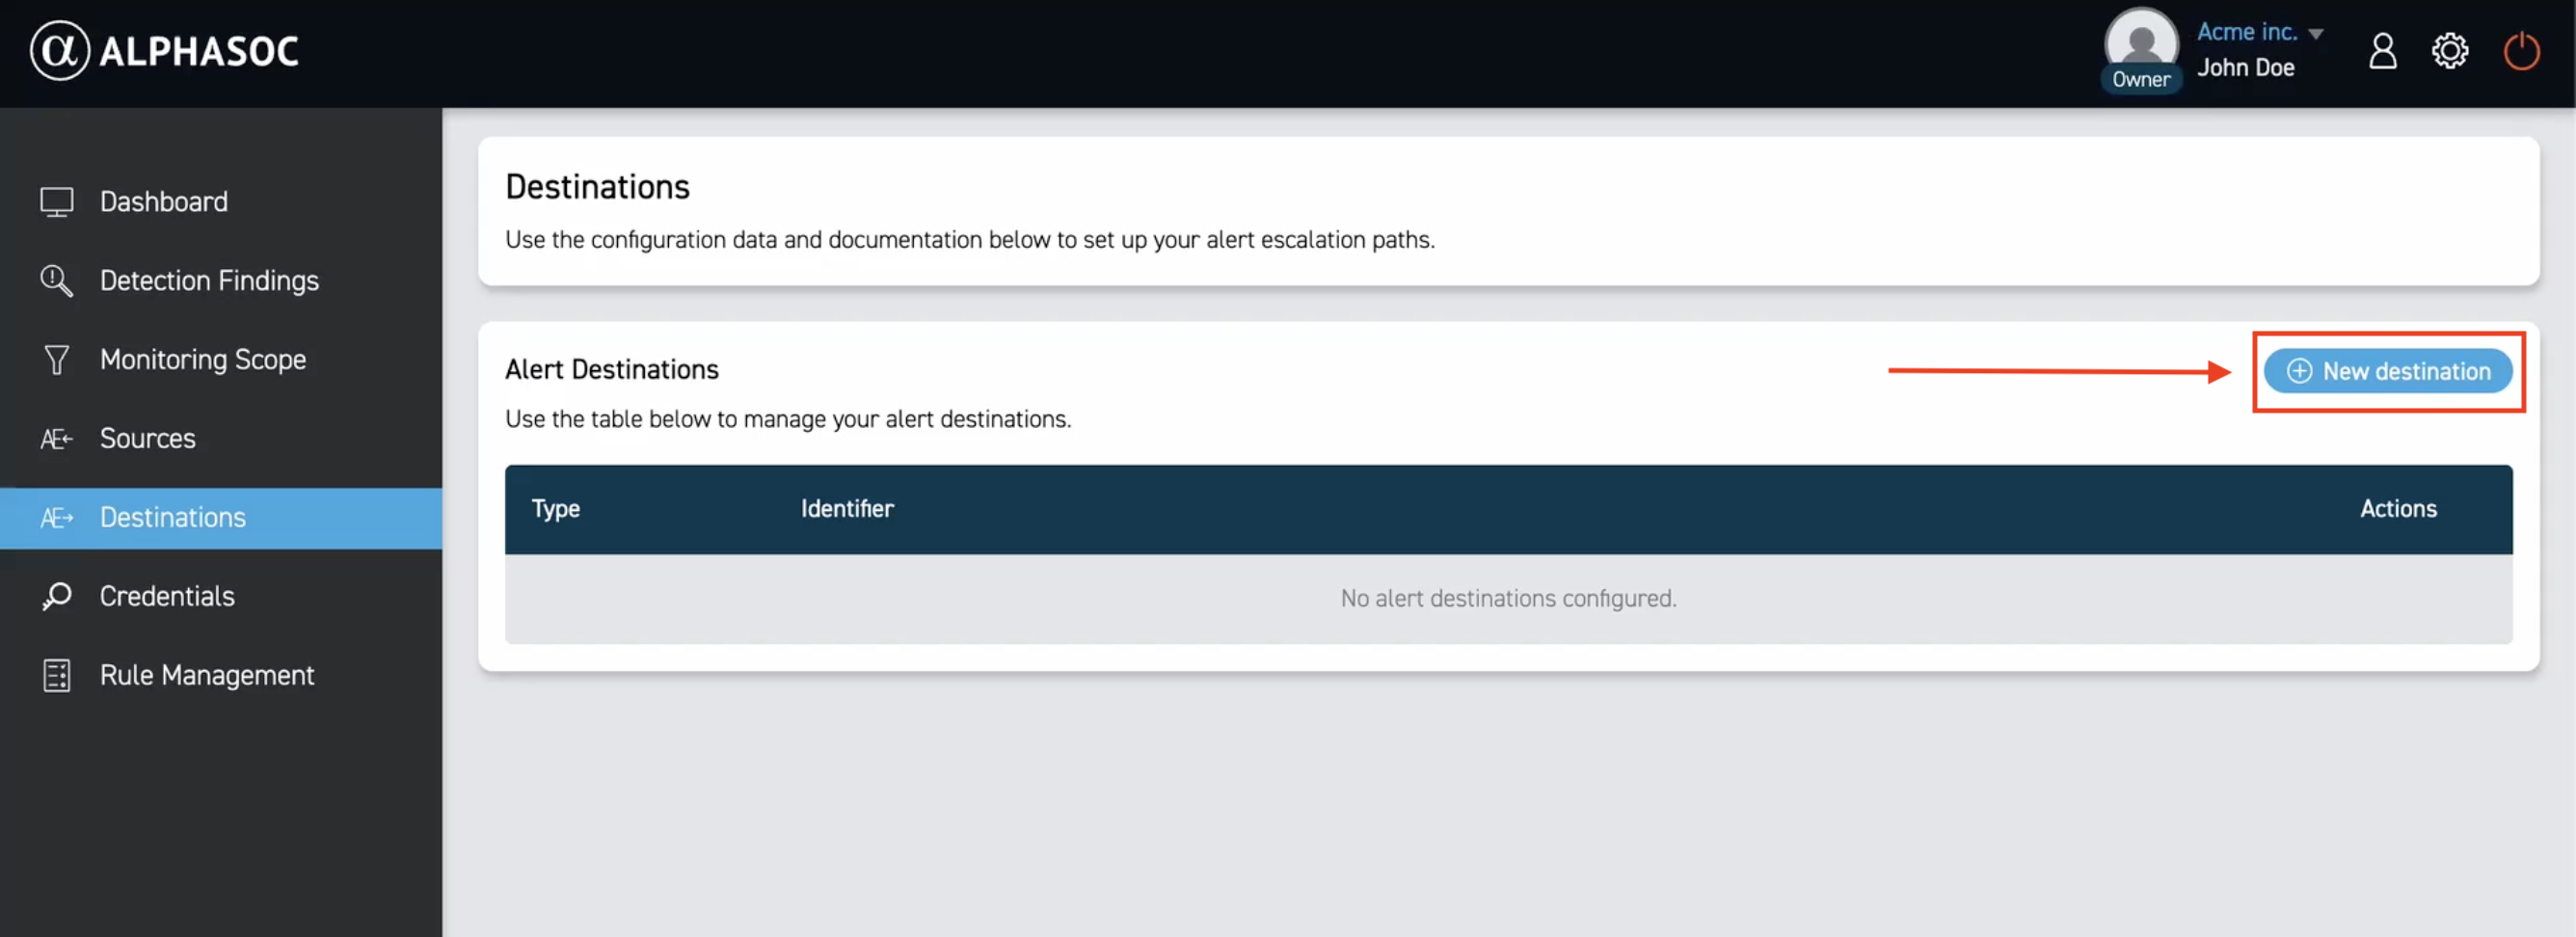
To add a new destination, click the New destination button.
Configuring Amazon S3
To configure Amazon S3 to receive findings from AlphaSOC, you must first create an IAM role with permissions that grant AlphaSOC write access to your S3 bucket.
To add the destination, click New destination and select Amazon S3 as the destination type.
Enter your Amazon S3 configuration details:
- Output Format: Choose your desired output format: OCSF or CLAP.
- Bucket Name: Enter the name of the S3 bucket where you want to send the data.
- Region: Enter the AWS region where your S3 bucket is located.
- Path: Specify a path within the S3 bucket.
- AWS IAM role ARN: Enter the ARN of the IAM role with permissions that grant AlphaSOC write access to your S3 bucket.
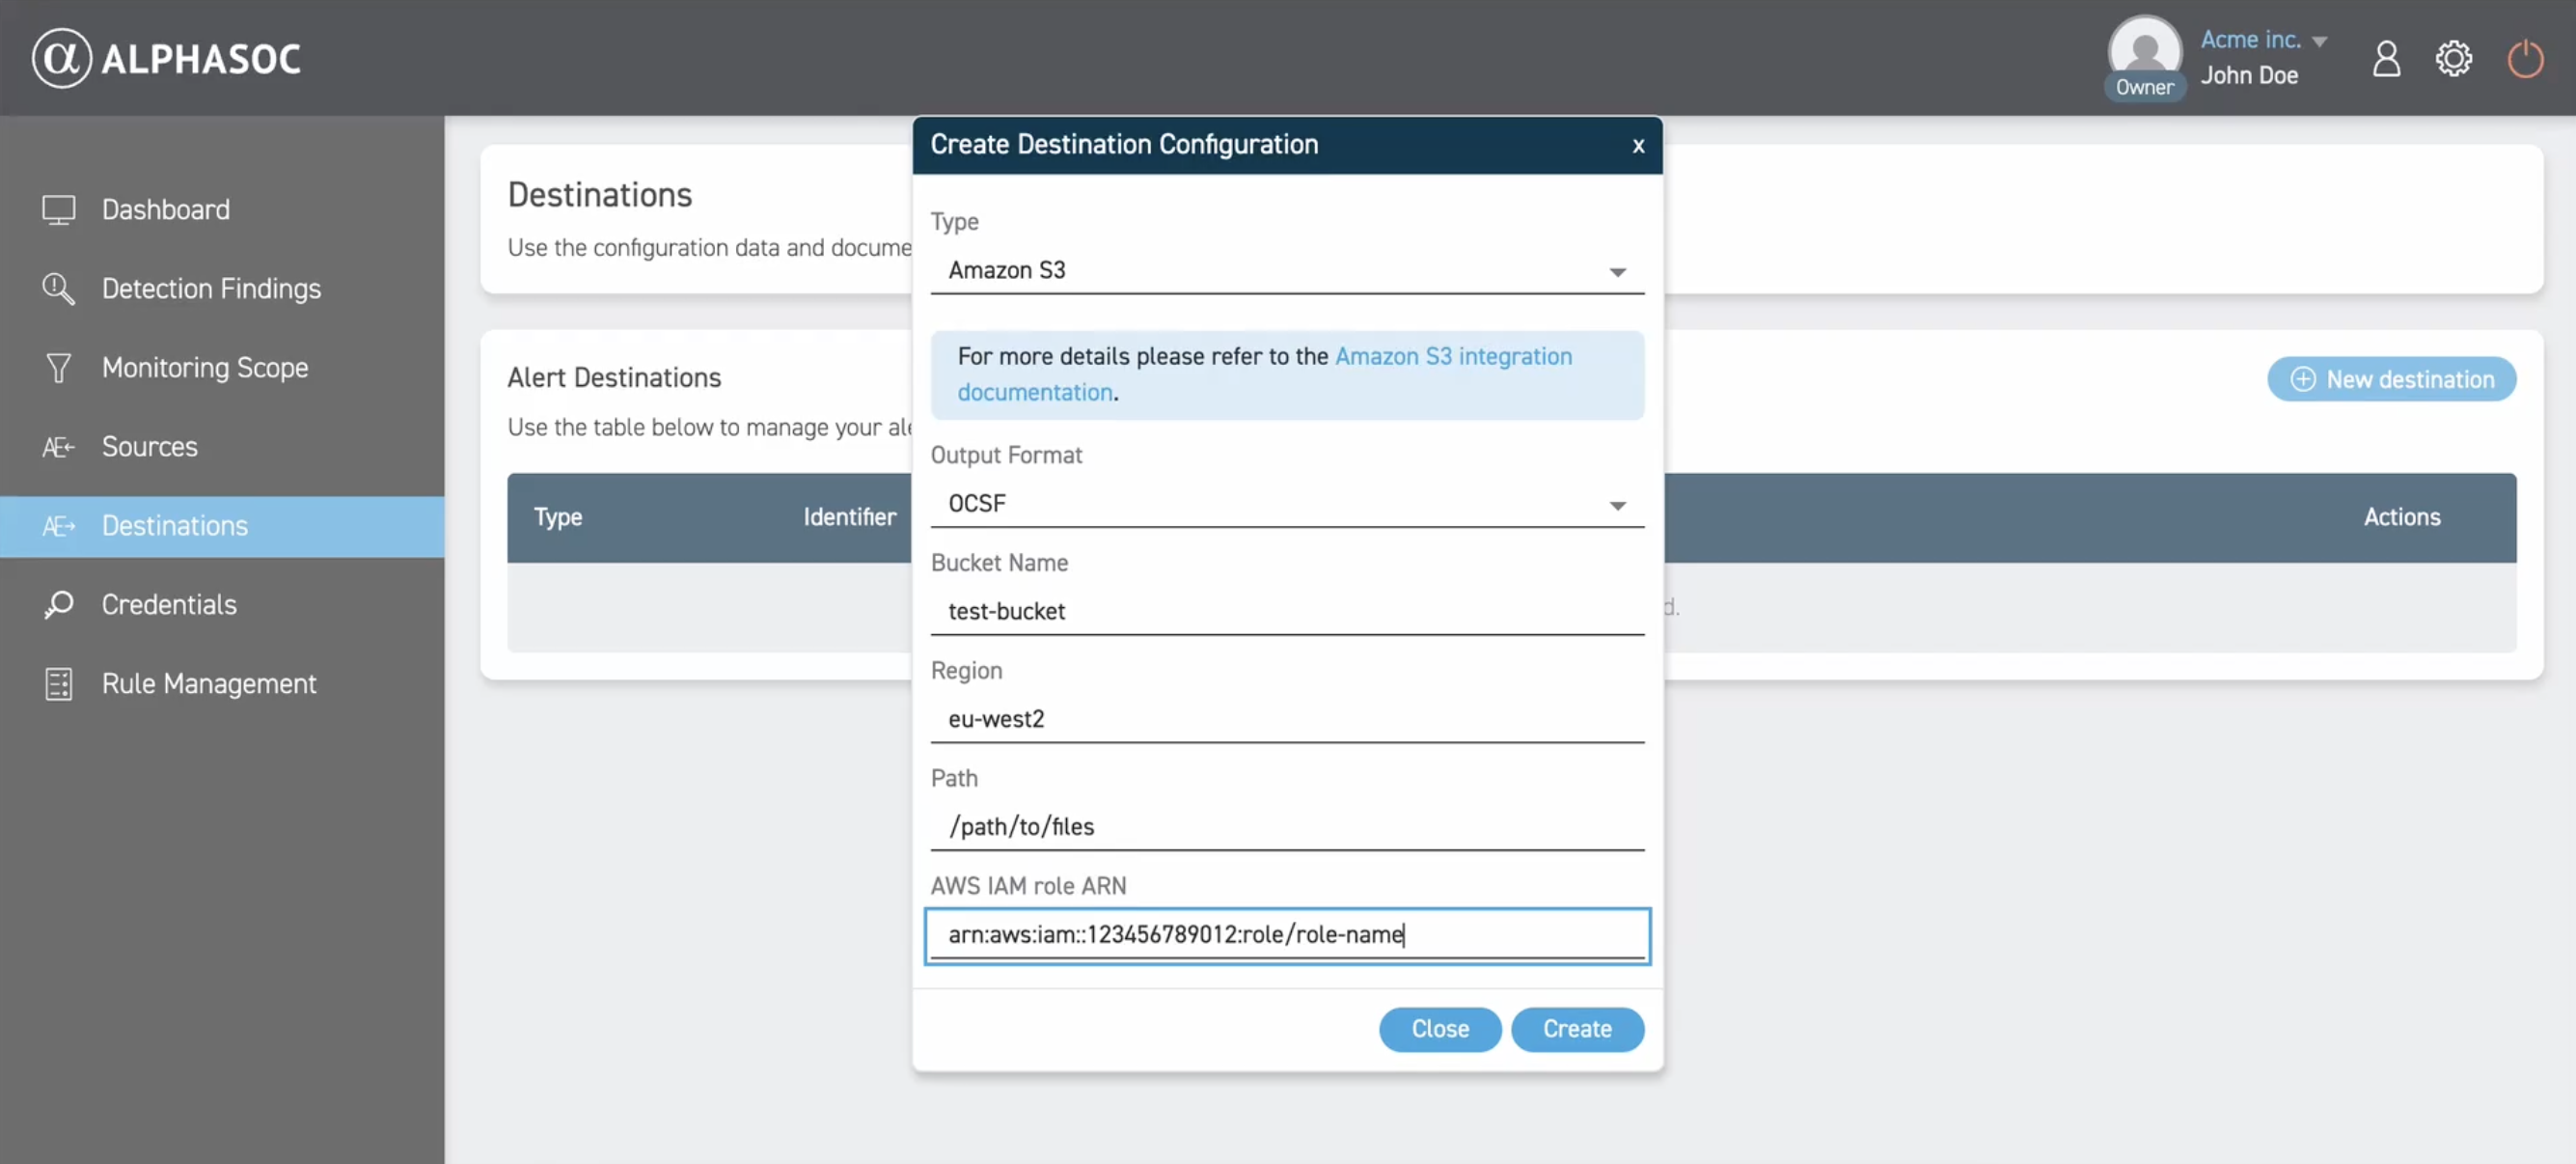
Click Create to save the destination.
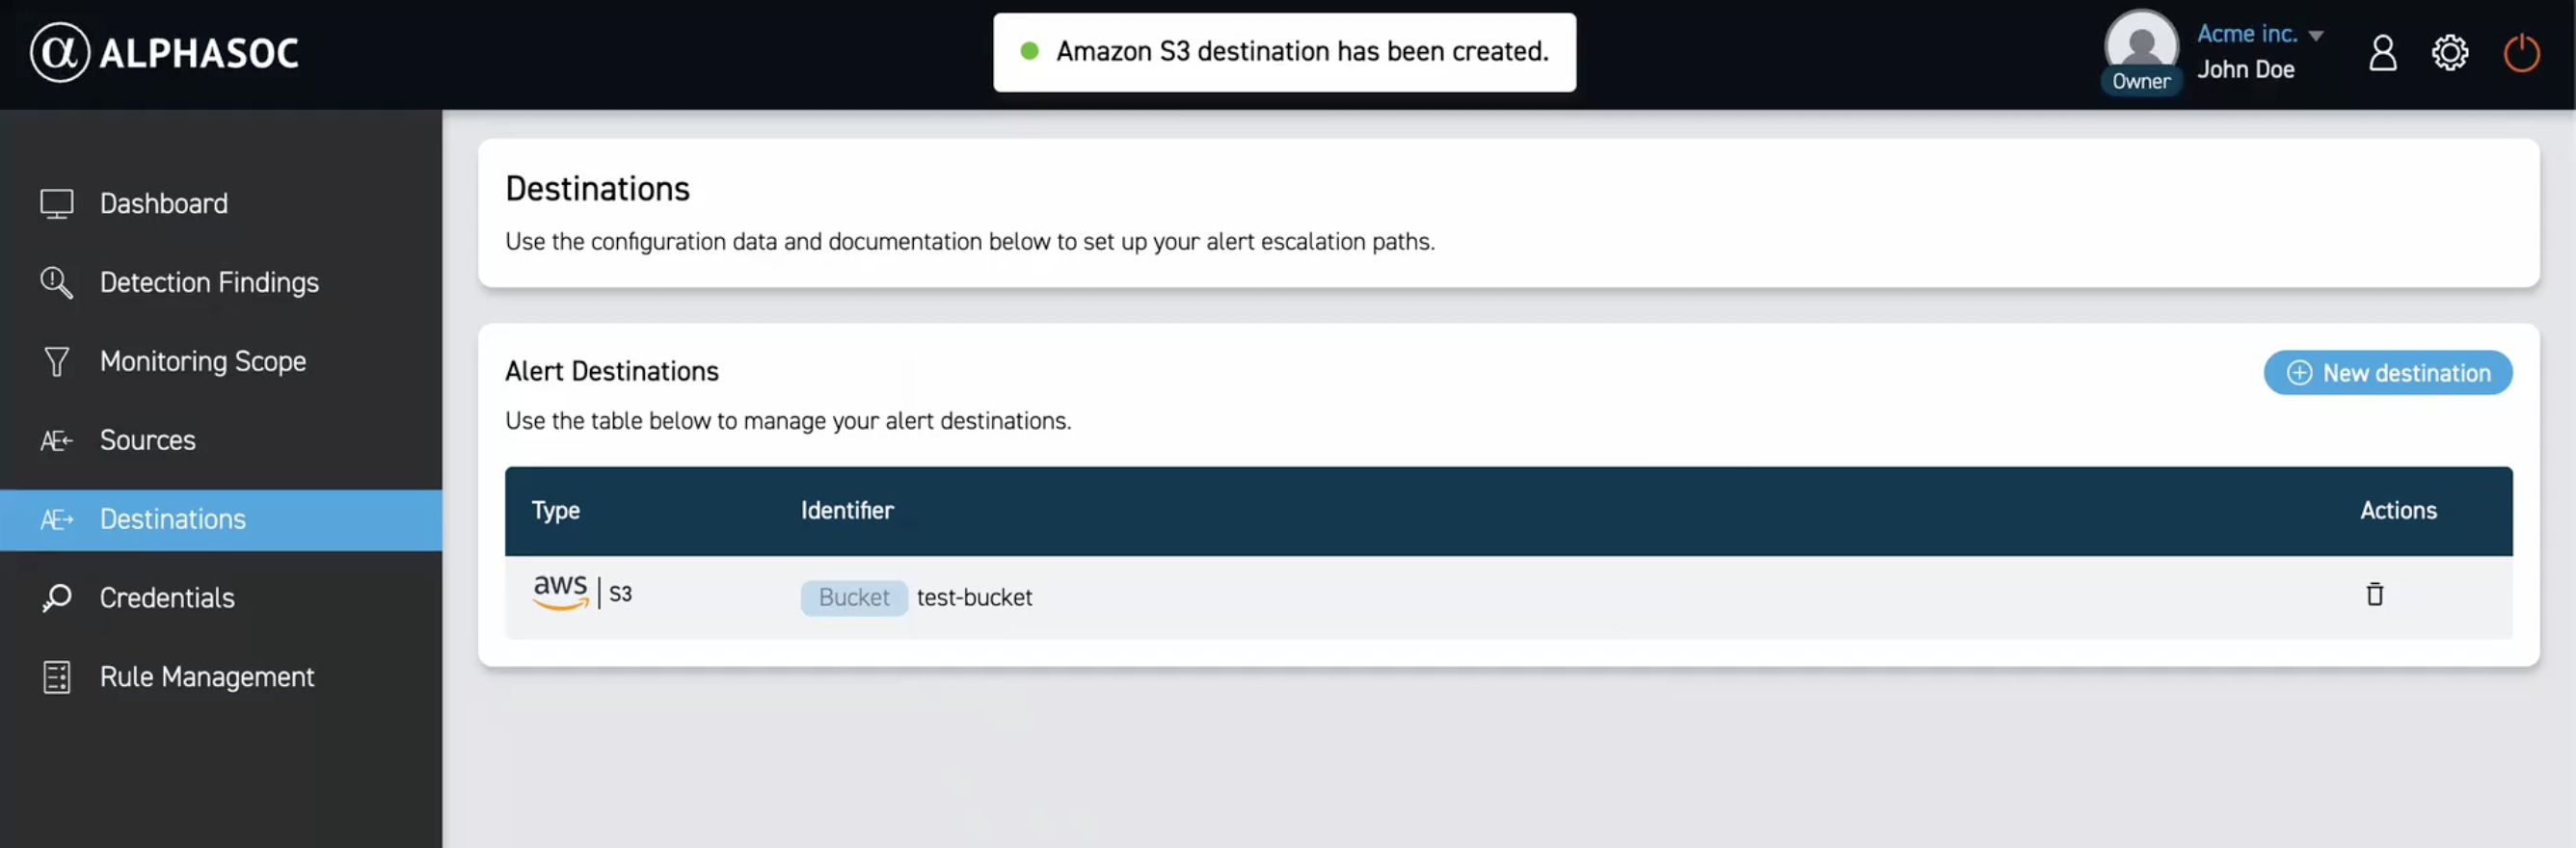
After successful creation, a confirmation message will appear and your new destination will be listed under alert destinations.
Configuring Cribl
To configure Cribl to receive findings from AlphaSOC, click New destination and select Cribl as the destination type.
Enter your Cribl configuration details:
- Output Format: Choose your desired output format: OCSF or CLAP.
- Cribl URL: Enter the URL of your Cribl instance.
- Cribl Token: Enter the authentication token for your Cribl instance.
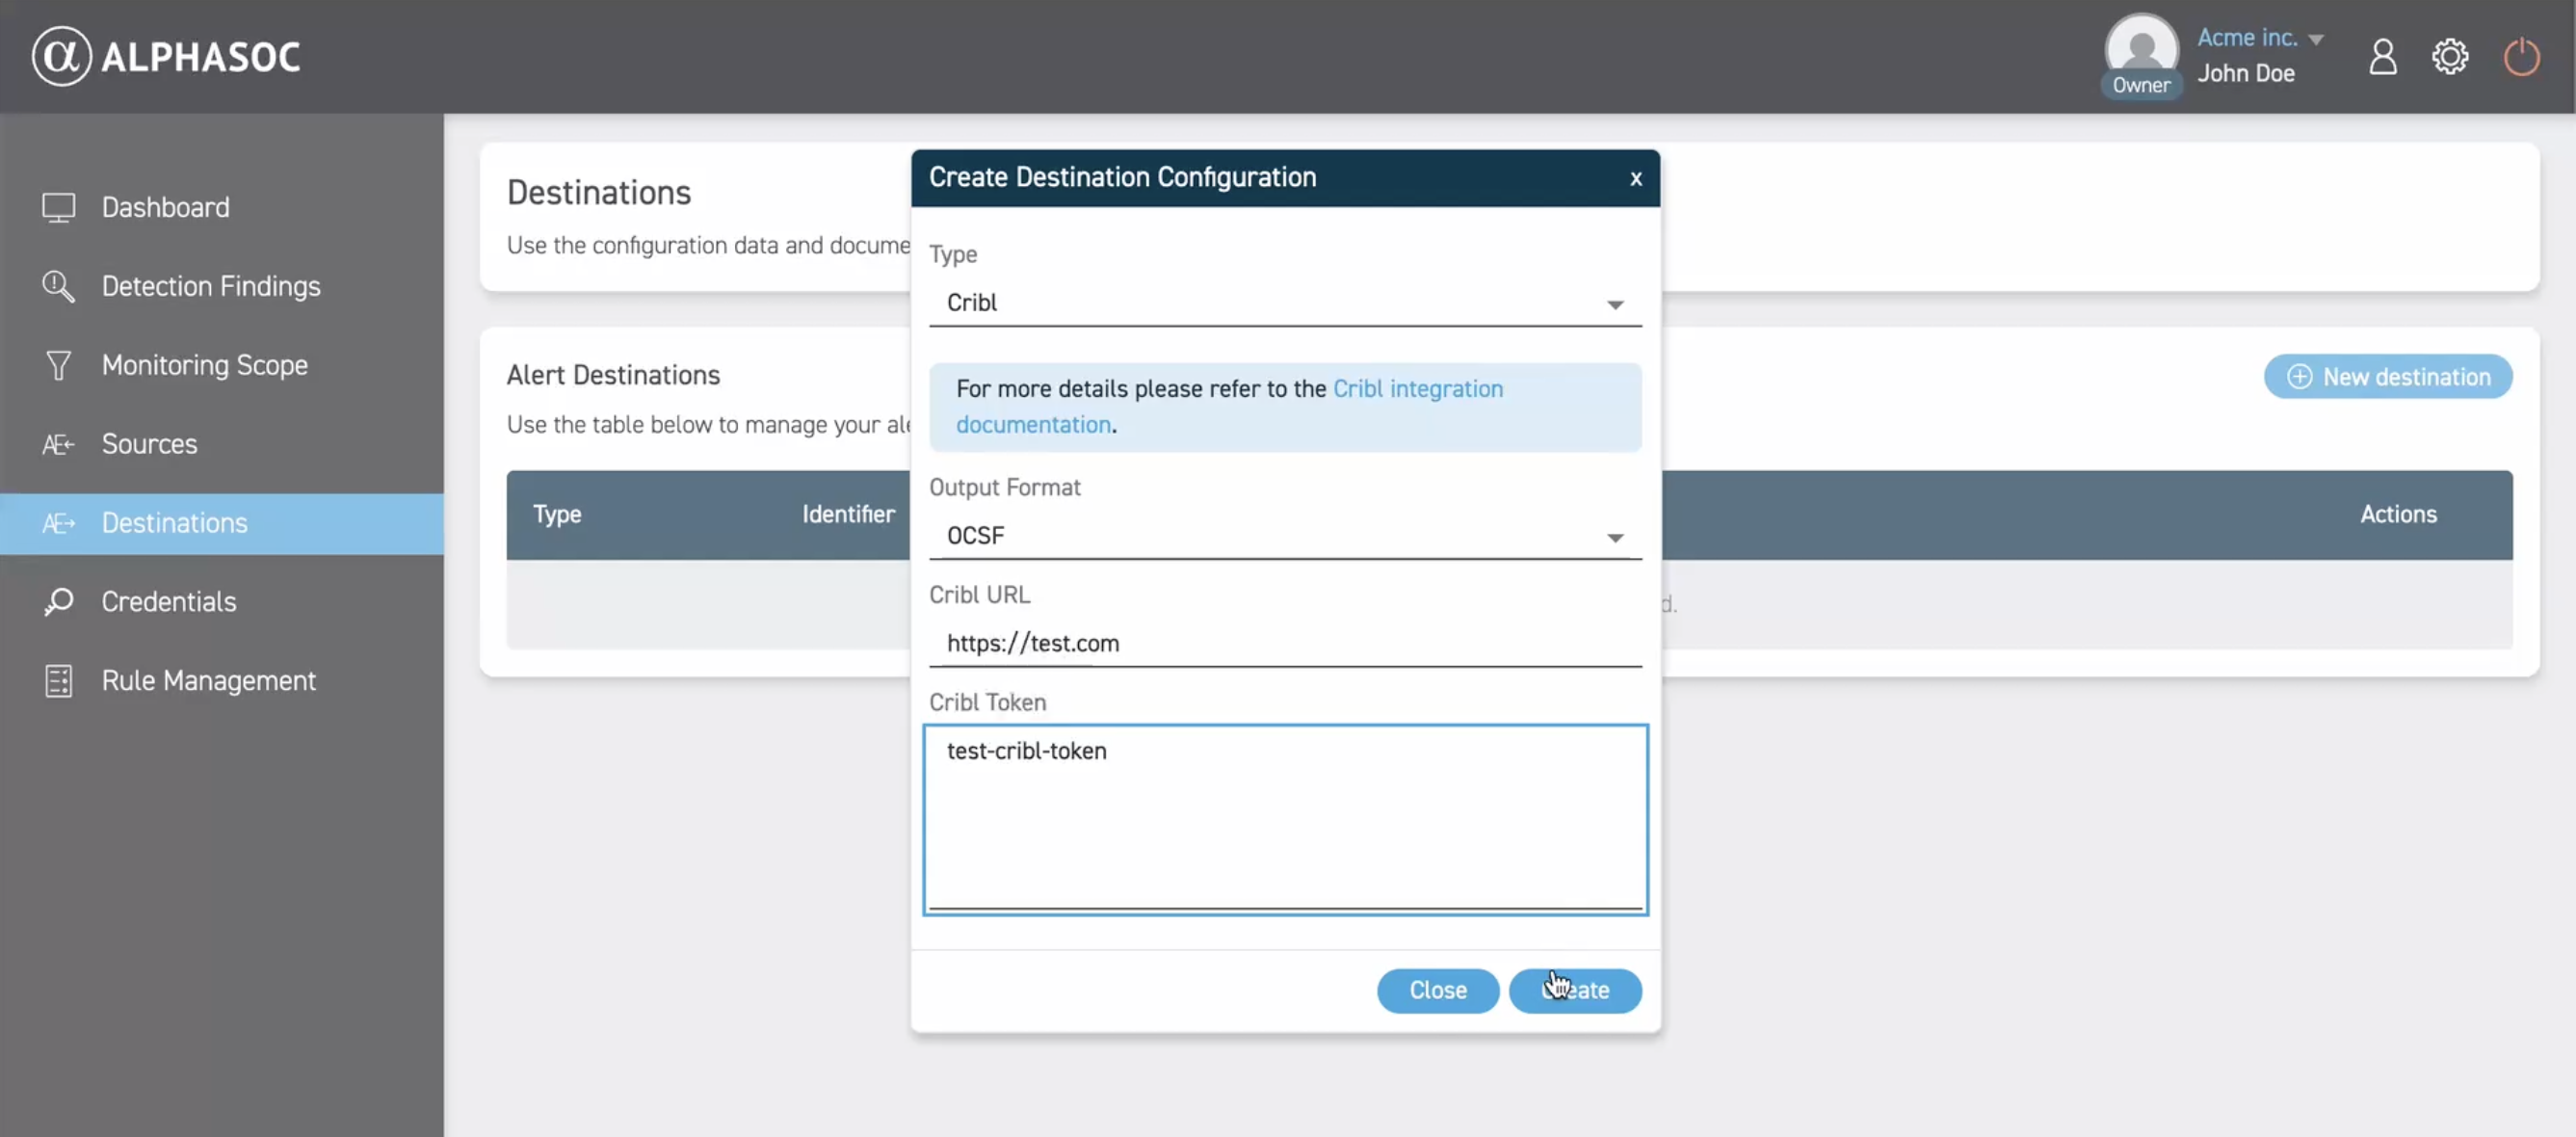
Click Create to save the destination.
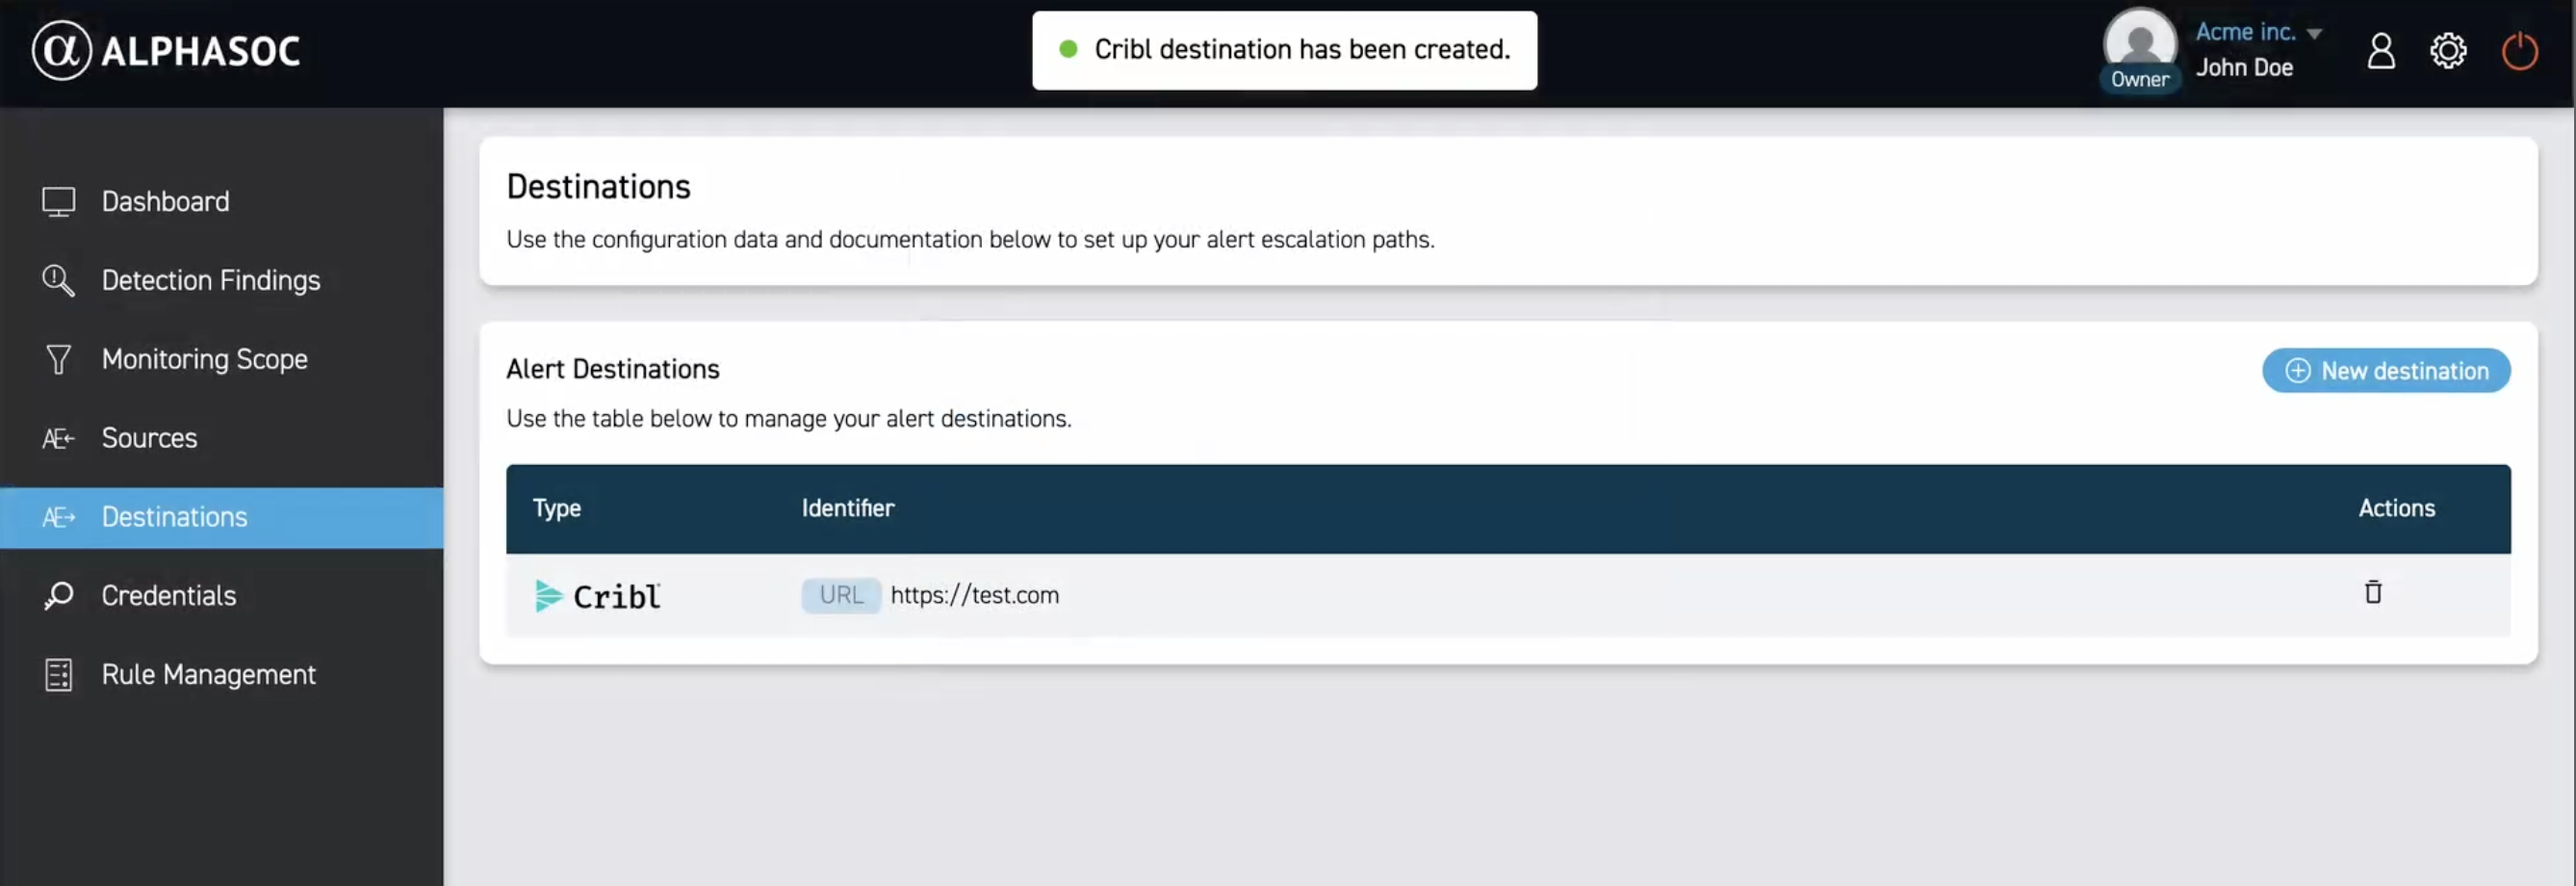
After successful creation, a confirmation message will appear and your new destination will be listed under alert destinations.
Configuring Kafka
To configure Kafka to receive findings from AlphaSOC, click New destination and select Kafka as the destination type.
Enter your Kafka configuration details:
- Output Format: Choose your desired output format: OCSF or CLAP.
- Kafka Topic Name: Enter the name of the Kafka topic where you want to send the data.
- Authentication Username: Enter your username.
- Authentication Password: Enter your password.
- Network Destinations: Enter your Kafka broker addresses in the format
addr:port(one per line).addrmay be either an IP address or a domain name.
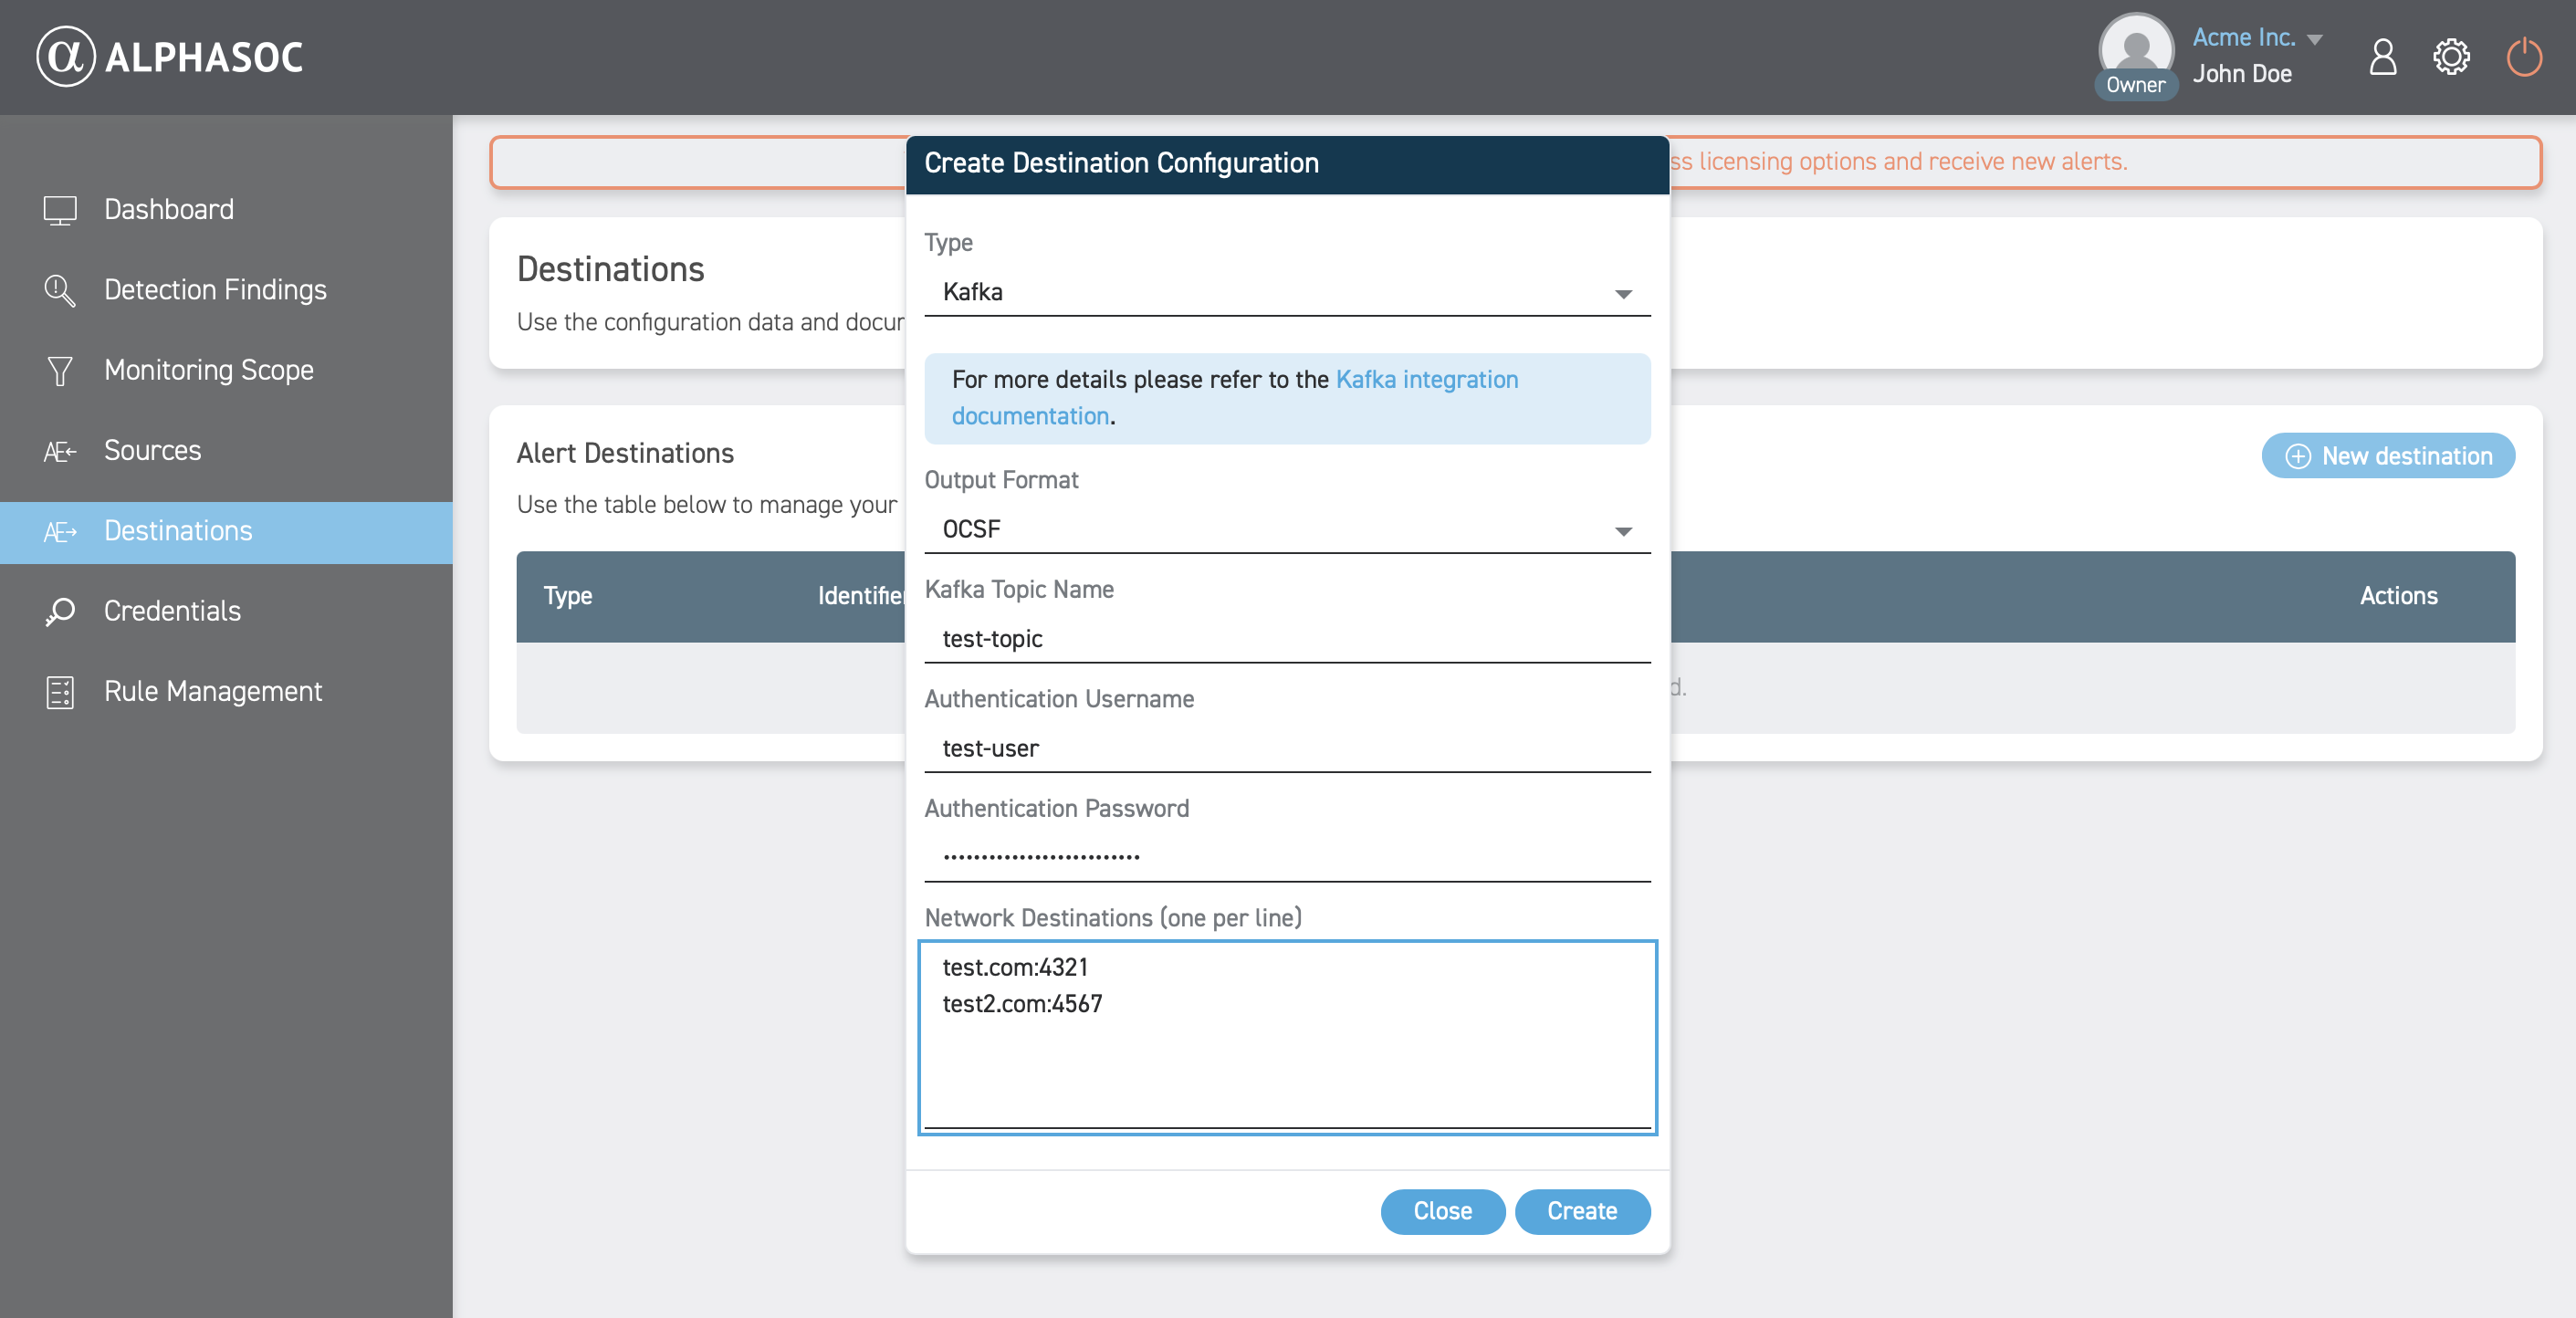
Click Create to save the destination.
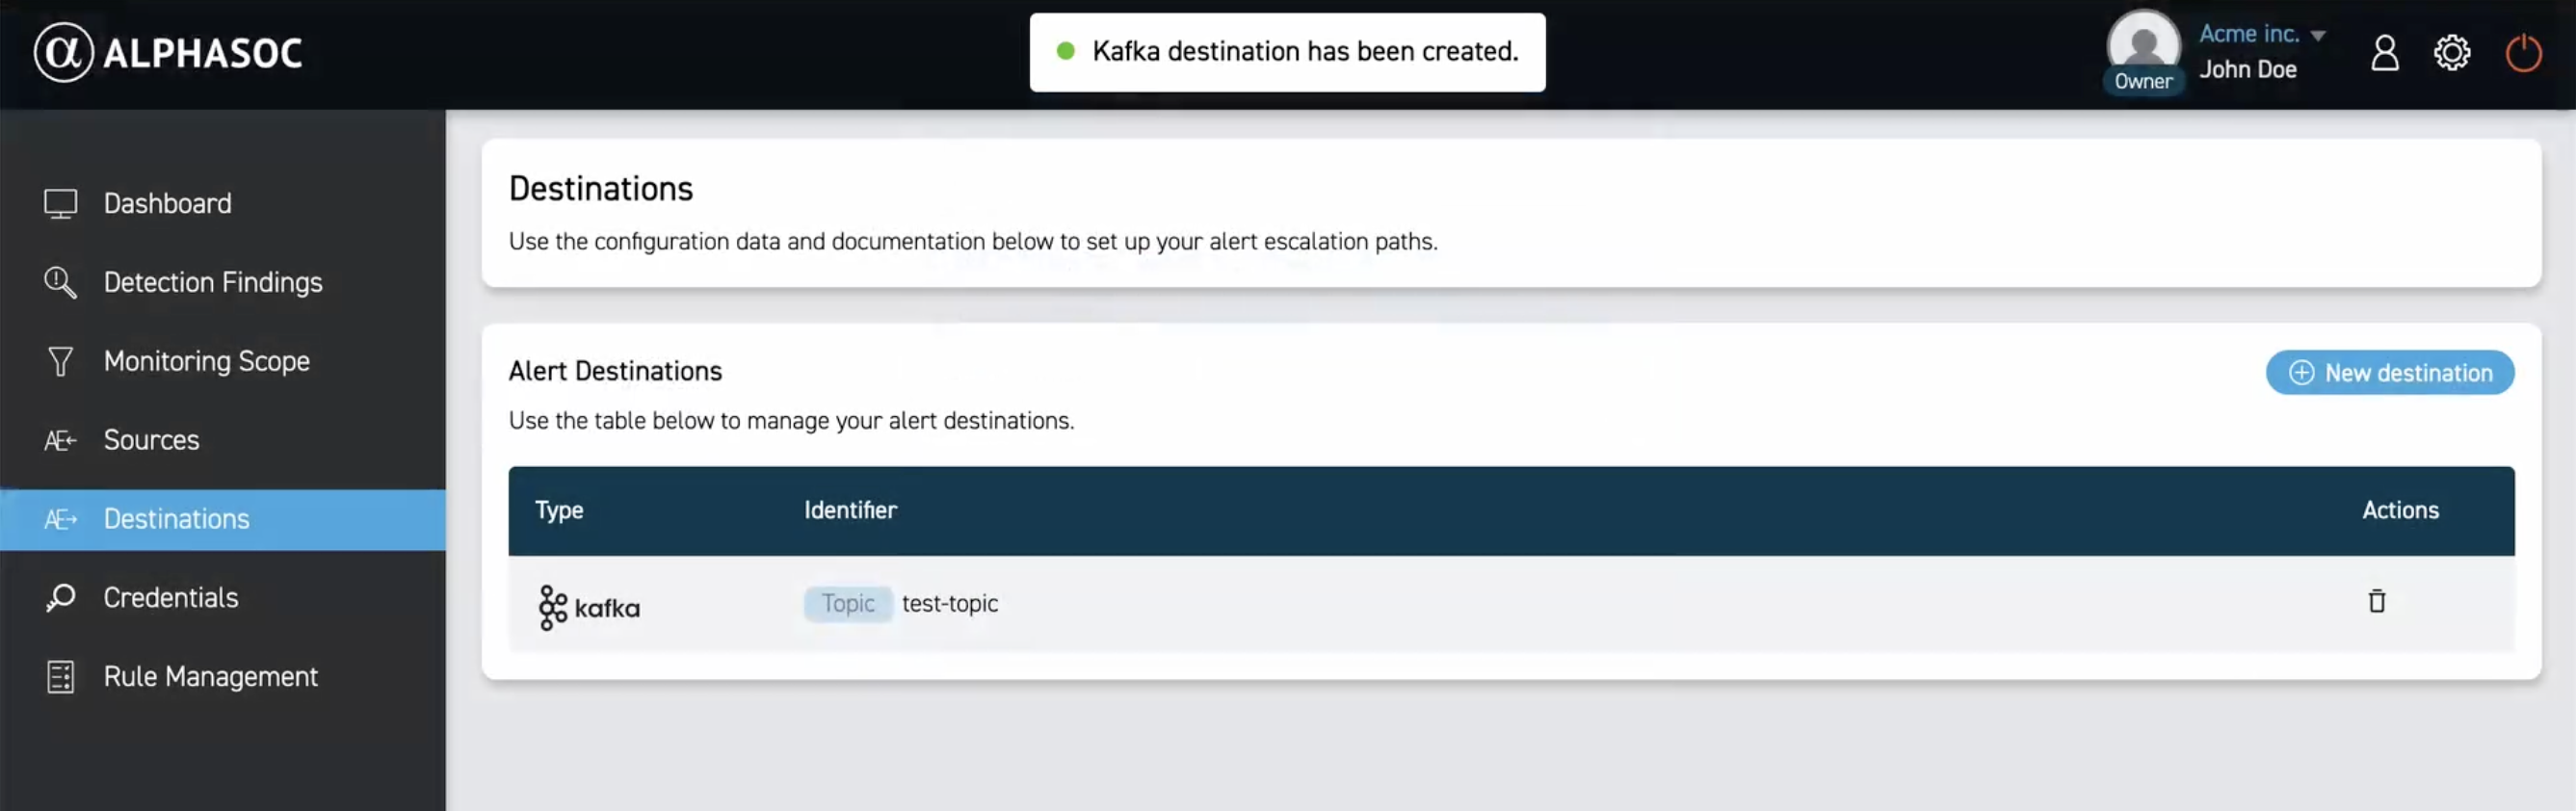
After successful creation, a confirmation message will appear and your new destination will be listed under alert destinations.
Managing Destinations
Use the bin icon in the Actions column to remove the integration.